Learning campus
Learn the products, get expert advice, and connect with others to uncover the power of visual collaboration.

Get started with Lucidchart
Familiarize yourself with the basics and get set up in a matter of minutes.

Learn with online training labs
Use these self-paced training courses to dive into functionality and build skills.

Explore resources for visual collaboration
Get expert insight and best practices for modern collaboration.

Find answers in the help center
Quickly find detailed answers and useful tips in our library of help articles.

Get the most out of Lucidchart
Training labs
Get the most out of Lucidchart
Build your skills, discover features, and learn how to make Lucidchart work for you. Go in-depth and at your own pace.
View training labs
Process flow
Try it now
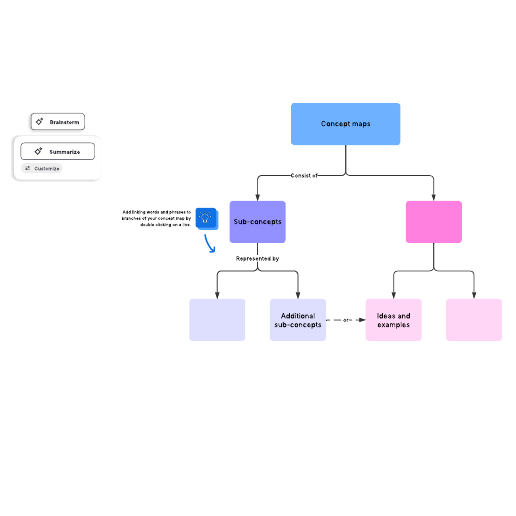
Concept map
Try it now
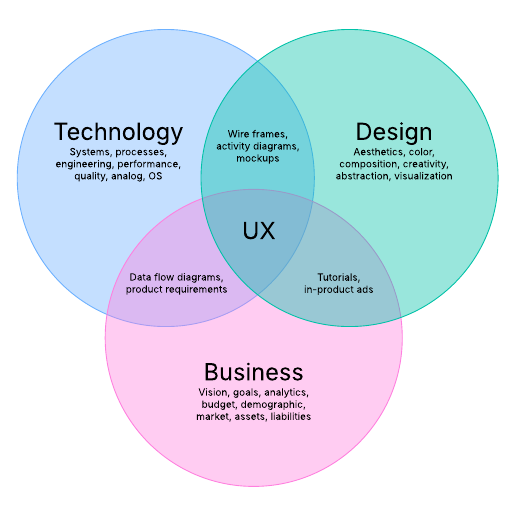
Three-set Venn diagram example
Try it now
Popular help articles
You’ve got questions, and we’ve got a help center with thousands of answers.
Help Library
Welcome to Lucidchart
Watch: Get started with Lucidchart
</
Help Library
Add and customize shapes in Lucidchart
Add a shape to your document
There are several ways to add a shape to your diagram. You can:
- Drag a shape from the Shape menu to the left of the workspace and drop it onto the canvas. <
Help Library
Add and style lines in Lucidchart
Add lines to a diagram
There are four ways to add a line:
- Manually click and drag from an object
Help Library
Add and style text in Lucidchart
Add text to a diagram
You can add text to:
- shapes
- lines
- images
- directly to the canvas using a text box
Tip:
Help Library
Revision history in Lucid
Watch: Revision history
Additional resources
Uncover the power of visual collaboration with our industry-leading expertise.
View all resources
Blog
Best practices for effective data visualization
Whether pitching for funding for a new project or describing year-over-year performance to shareholders, make your point more clearly wit

Webinar
How Lucid uses Lucid—visually and virtually
During this webinar, you’ll learn how to:
- Use the Lucid visual collaboration suite during every step of the product development life

Blog
How to get buy-in for changes to your organizational structure
If your company is preparing to scale, acquiring another business, or preparing to undergo another major change, an organizational redesi