Warehouse floor plan
This warehouse floor plan template can help you:
- Visualize the different areas in your warehouse.
- Access Lucidchart's floor plan shape library.
- Easily share your drawings with others.
Open this template and add content to customize this warehouse floor plan to your use case.
What is the Warehouse floor plan template?
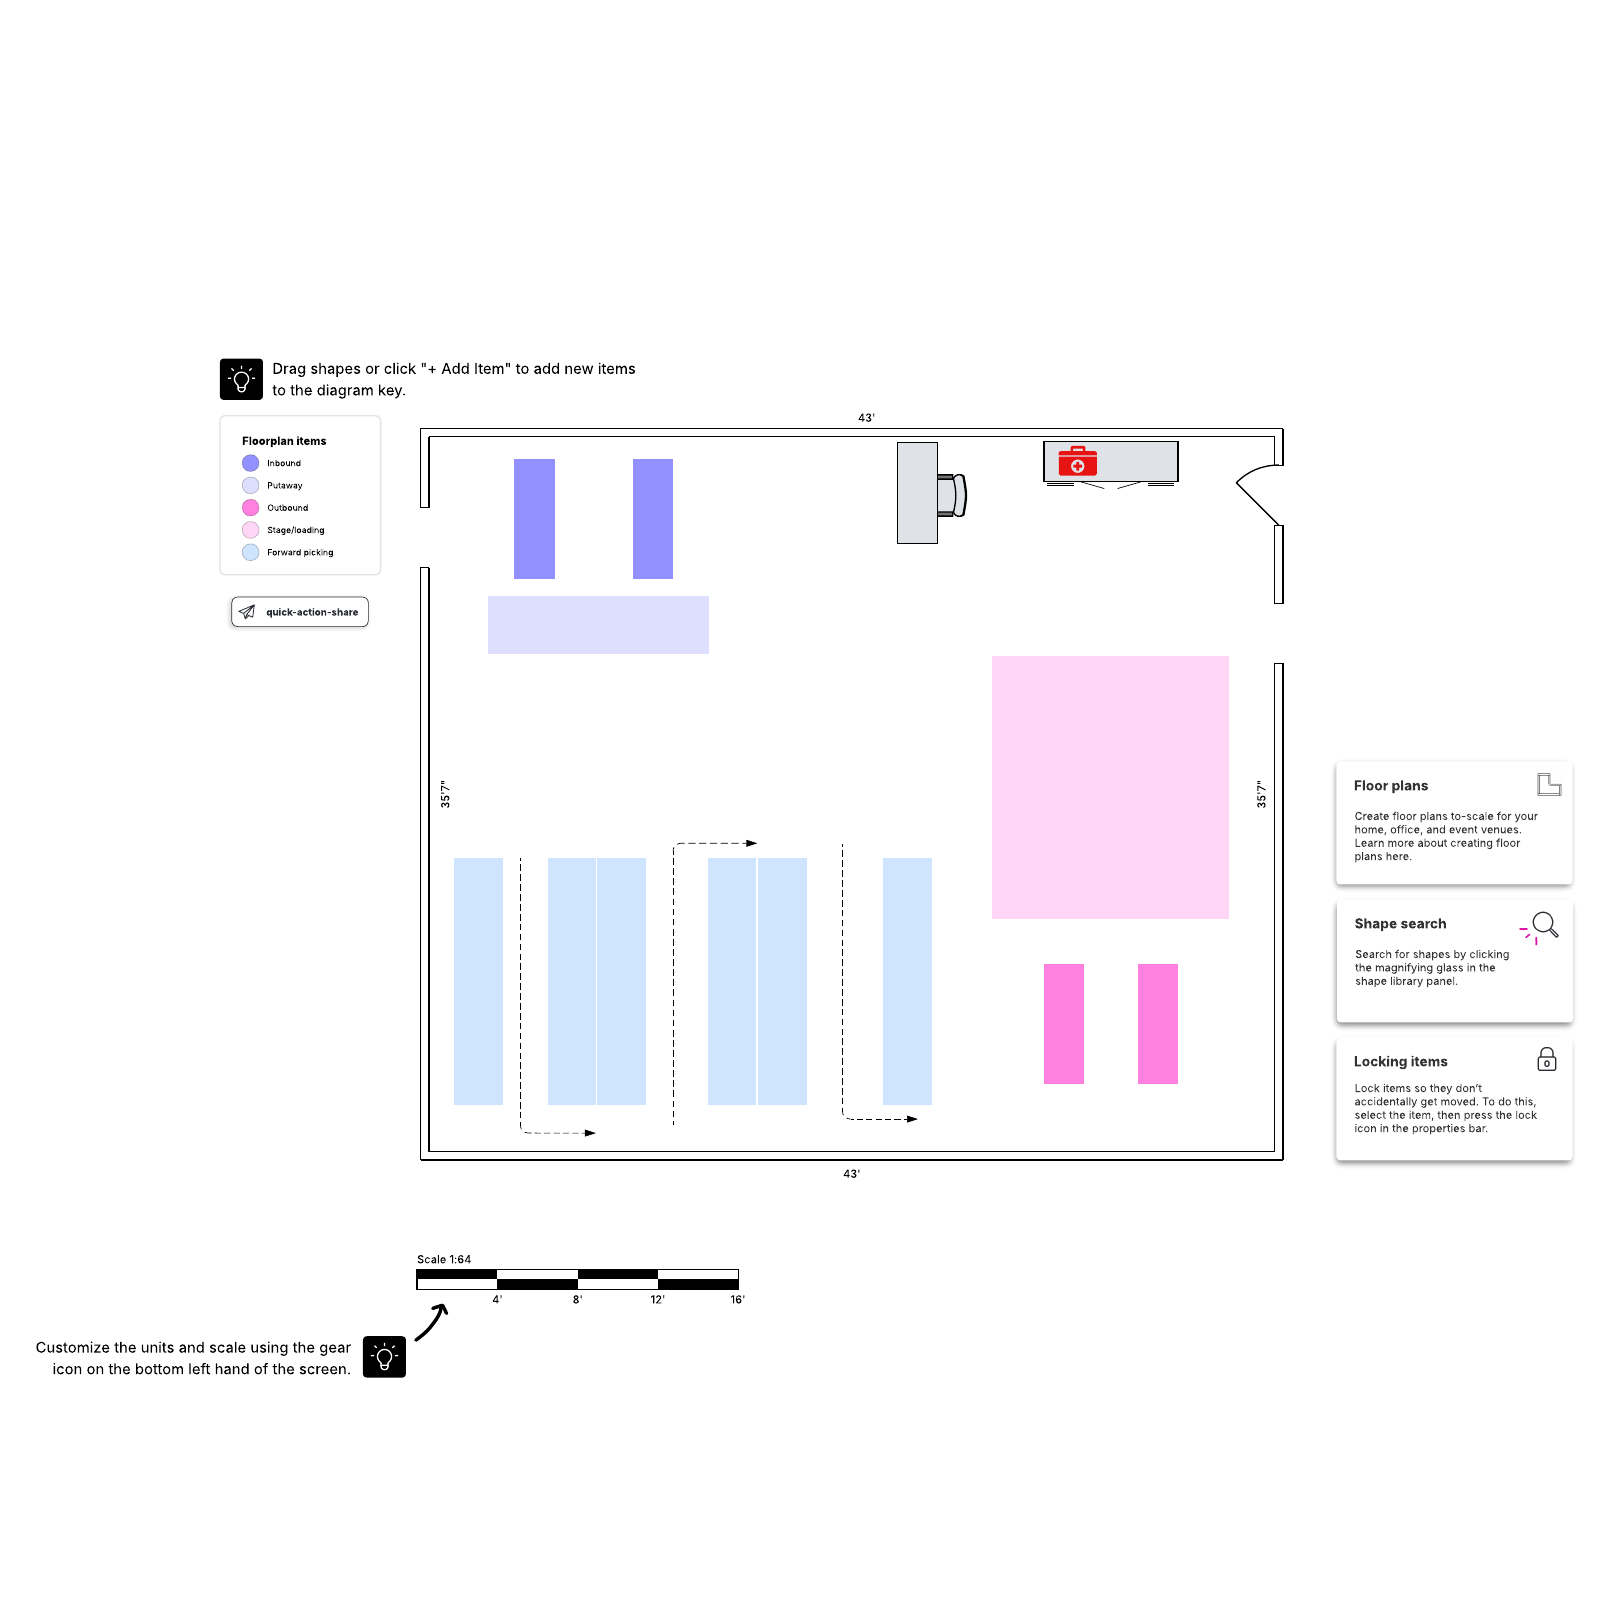
Efficiency must be prioritized in warehouse organization. You must consider how work flows through the space and what things need to be accessed regularly. Our free template helps you take all that–and more–into consideration as you’re creating a warehouse floor plan. The Warehouse floor plan template helps you visualize the different areas of your warehouse so you can stay organized and increase your operation’s efficiency.Benefits of using the Warehouse floor plan template
If you increase your floor plan’s efficiency, you can expect to save time and money. In this way, working with our template can help you improve your business. The template itself is easy to customize to your needs and update as things change. You can also share it with others to keep everyone on the same page. Updates and edits are made in real-time, so team members always stay aligned.How to use the Warehouse floor plan template in Lucidchart
First, take a look at the example floor plan included in the template. When you’re ready, click the Create Your Own button on the right of the document to start your own floor plan. The Shape Library on the left side of the document has all the shapes and outlines you need to draft your floor plan. We’ve included graphics for features like:- Doors and windows
- Stairs
- Desks
- Cubicle walls
- Rooms
- Tables and chairs
- Cabinets
- Restrooms
- Kitchens
- Couches
- Technology


