
Creating a website without a wireframe is kind of like building a house without a blueprint. Wireframes serve as a layout for how a website will function and how users will navigate the site. Think of it as a skeleton where you decide what elements to include, their position on the page, and how they’ll interact with each other. Skipping the wireframe process could result in a site with a poor user experience.
Occasionally, designers might start out by sketching a wireframe on paper first; just to make sure they include essential elements. Then they’ll use an online tool to create a shareable wireframe. These designs are meant to be functional, not pretty. Now is not the time to be thinking about color palette and the overall look of the site.
6 minute read
Want to make a wireframe of your own? Try Lucidchart. It's quick, easy, and completely free.
7 Tips for Creating Wireframes
There are a few things you should do before you even start creating a wireframe. These small tasks include identifying site needs, rating the importance of each element on a page, and considering how visitors will interact with it. Here are some tips that can help make the design process easier and more productive:
1. Talk to Stakeholders
Whether you’re creating a website for an internal or external clients, it’s imperative to understand their requirements. Set up a meeting with the major stakeholders and find out the overall goal of the site and what they want visitors to do when they arrive. It’s also a good time to ask about highlighted features and if they have specific items that need to be above the fold (anything that appears on a site before scrolling to see more).
2. Buttons Should be Obvious
People are accustomed to clicking buttons on a website to perform certain tasks such as submit orders or confirm payments. Now is not the time to re-invent the wheel. Whether buttons are represented as rectangles or have rounded edges, use the same shape throughout the site.
3. Think About Navigation
Depending on the type of site you’re building you could end up with just a few pages or hundreds. The key is to create a hierarchy that makes sense. For example, if you have a company website place company-related items in one drop down menu and product-centric elements in another. Additionally, consider how someone is going to maneuver through the site and how can they return to the homepage if they’ve gone too deep.
4. Set Grids and Use Boxes
To help with the proportion of items on the page use an online tool that offers grids. Using grids provide a guide to help you determine the proper spacing between items and it will give you an idea of how things will look on the page. Use boxes to represent page elements whether it’s copy, images, or ads. Remember a wireframe is a skeleton; it doesn’t have to be stunning.
5. Add Actual Text
Designers are fans of using “lorem ipsum” to represent content on a page. When creating a wireframe, use actual copy. You’ll be able to see easily how existing content looks on the page and if you need to adjust the space allotted or trim the text. Try out different fonts to see how it affects the copy.
6. Include Important Elements
Make a list of the main components that need to be on the page. These can vary depending on the type of site you’re creating. For example, if you’re doing a wireframe for a page that collects payments include all the boxes a user will need to complete before clicking the Submit button. Consider site navigation and where you’re going to place user login areas, content, search boxes, and the company logo.
7. Share the Wireframe with Others
When you complete the wireframe, it’s time to get feedback from other people. Consider using an online tool that lets you share the wireframe with others and offers editing/commenting capabilities. An online app that’s designed to let multiple people view the wireframe and participate in online chat simultaneously can help keep track of revisions and be a real time saver.
Once you finalize the wireframe, you can translate it into a visual representation using an app like Illustrator or Photoshop before building it. Remember whatever elements you choose to represent things on one page, should also be used on other web pages. Consistency is essential for a good user experience.
Want to make a wireframe of your own? Try Lucidchart. It's quick, easy, and completely free.
Make a wireframeHow to Make a Wireframe Online with Lucidchart
Now that you know what it takes to create a useful wireframe let’s see how to create one using Lucidchart. We have a ton of wireframe templates to help you get started with the process, feel free to modify them to fit the needs of your diagram. Log in to your account (if you don’t have one, sign up to try Lucidchart free for a week) and follow the steps below.
1. Select a wireframe template
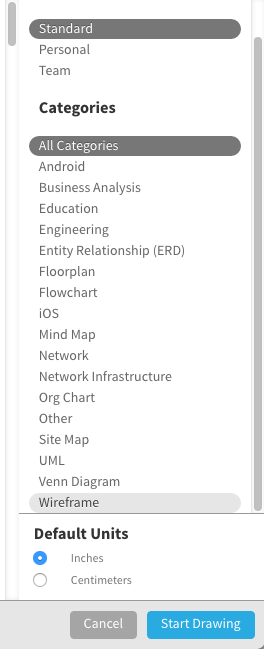
In the Documents section, click on the down arrow in the orange +Document button and scroll through the categories column on the right side. Click on Wireframe.
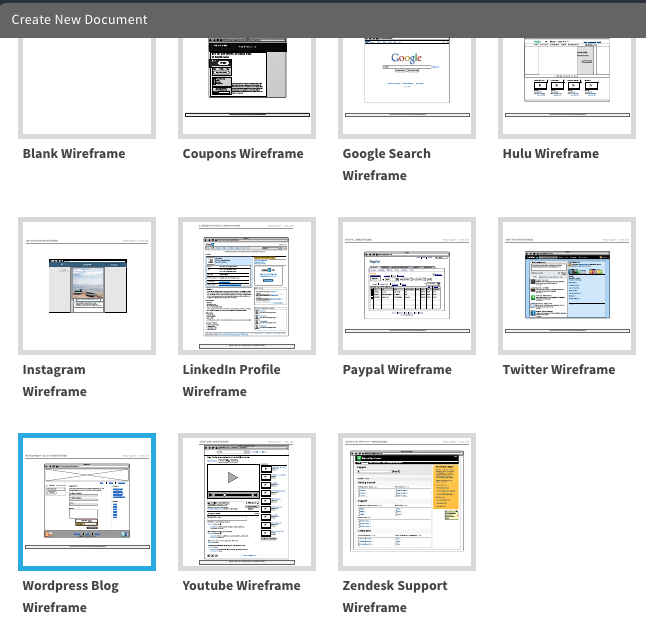
2. Choose a wireframe template
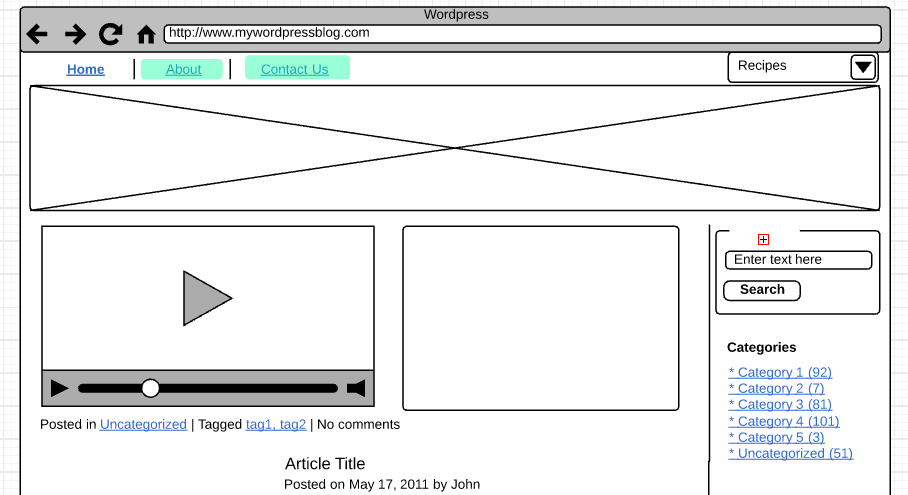
We have quite a few options, but for this tutorial, we’re going to use the Wordpress Blog Wireframe to make a food blog. Double-click on the Wordpress Blog template.
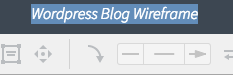
3. Name the blog wireframe
Click on the wireframe header in the top center of the screen. The text is highlighted and you can type the name of your diagram.
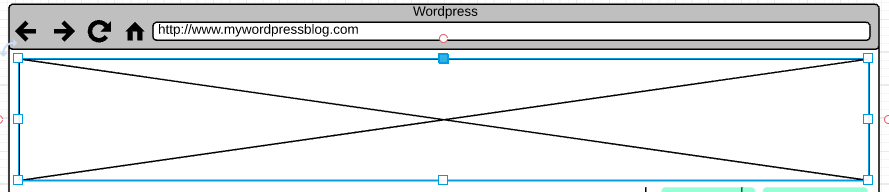
4. Start creating the wireframe
Our template provides many standard UI options. We’re going to add some components and move some things around. Let’s start with the header. Click on the large rectangle box at the top and click, hold, and drag down the blue box on the top center to resize.
Click on the Home, About, and Contact Us and drag it to the top left corner of the page.
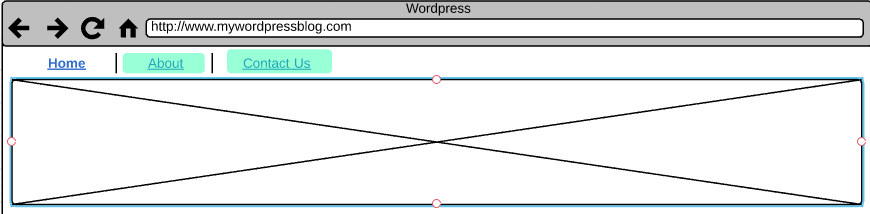
Let’s add another navigation button, but let’s make it a drop down menu. Under UI Input, click and drag the box with an arrow down and drag it to the top right corner of the page. Move the box to adjust alignment accordingly.
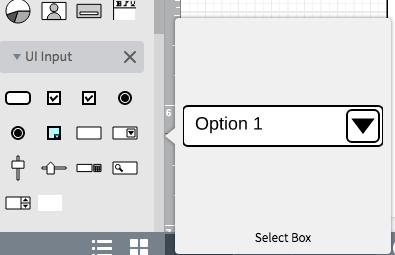
Double-click on the copy in the box and type a new name. We’re calling it Recipes.

5. Move the search box to right column
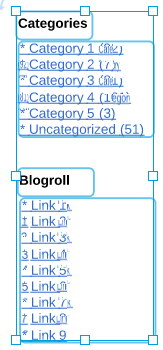
We want more room for content, so we’re going to move the search box to the right column. Select all the items in the right column by placing your arrow at the bottom corner of the list and dragging up. This will select everything so you can easily move items down; click and drag highlighted items down.
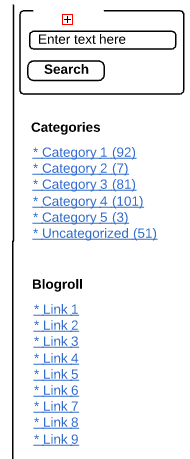
Let’s do the same thing to move the search box. Select all the elements in the search box and drag it to the top of the right column. Resize the boxes to fit in the column.

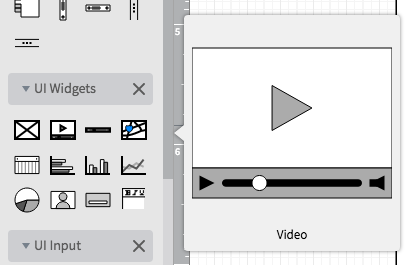
6. Add video to the wireframe
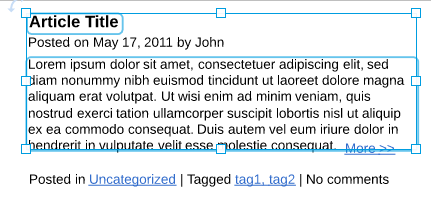
We want to highlight video on this page for demos the blogger puts up weekly. Select the Article title, post date, and copy and press the delete key on your keyboard. Note: We’re leaving the Category, Tags, and Comments because we’ll want to use them in the video element.
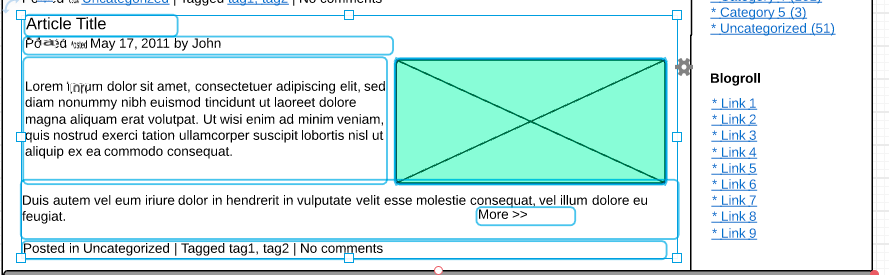
Click and hold the video icon under UI Widgets and drag it onto the page aligned on the left just below the header image.
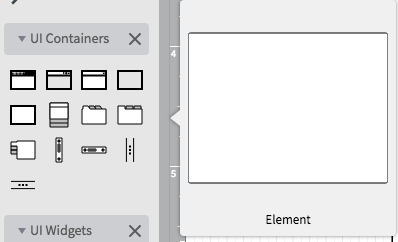
Click on the Element box under UI Containers and drag it to the right of the video box. This is for text about the video.
Click and drag the Category, Tags, and Comments so it’s aligned under the video box. It should look like this:
Add copy to the element box, so people know that this is a text box. Use the font, type, and alignment tools in the menu bar to adjust formatting.
7. Adjust the content on the page
We need to move the blog post teaser to be in alignment with the video on the page. Select all the items in the remaining article section and align under the Category, Tags, and Comments section. With all the items still selected, use the blue square to resize to fit the page correctly.
8. Share your wireframe
The title you created at the beginning of this exercise will appear at the top of the diagram. Once you the wireframe is the way you want it, share it with others either via email, link, social media (Facebook, Twitter, Google+, and LinkedIn), or embed it on a website. Click the blue Share button in the top right corner of the screen and a pop-up will appear. Choose how you’d like to share the diagram and enter the appropriate information.
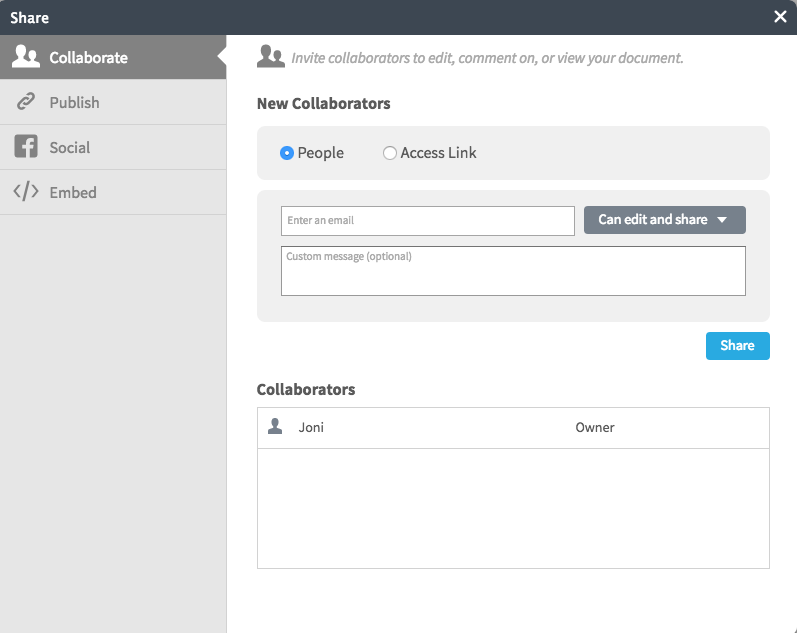
When you add collaborators by sending a link to the wireframe via email, you can work on it simultaneously and use the chat feature (the yellow quote icon in the top right corner of the screen) to have discussions.
Get Started Creating Wireframes with Lucidchart
As you can see, it’s easy to create a wireframe using one of our pre-made templates. If you’d rather start with a blank slate, no problem, just select the blank wireframe template. This will pre-load all of the UI elements you’ll need to complete your design. Since Lucidchart is a web-based app, your wireframe is automatically saved, and you can access it virtually anywhere you have an Internet connection. Sharing the wireframe with colleagues and clients couldn’t be easier, and you’ll never have to wonder if they can open the file or access it.