Org Charts
Making an org chart is a great way to organize a complex organization into a simple structure. This guide will walk you through the process of creating your very own org chart on the medium of your choice (Excel, Word, or Powerpoint), and teach you how to build an org chart in Lucidchart, a visual workspace that's ideal for diagramming org charts. Check out our article on "What is an Organizational Chart?" to learn more about the different types of org charts, the history behind them, and when to use them.
How to make an org chart in Lucidchart
To get started, sign up for a Lucidchart account. Once you have created an account, open up a blank document or one of our org chart templates to get started.
Enable shape libraries
First, you’ll need to enable the “Org Charts” shape library. To do this, click on the “+ Shapes” button on the left side of your workspace, and make sure “Org Charts” is checked.
Create an org chart
Organizational charts are intended to organize and manage hierarchies within companies, institutions, departments, and even families. By creating an org chart, organizational structure will be more clear, providing more efficiency from within.
1. Start and style your org chart
First, determine the purpose of your org chart so that you can decide what you want your org chart to look like and what information you should include. You might use your org chart as an employee reference for contacting others in the organization, to create a staffing plan for the coming year, or to organize cross-functional teams.
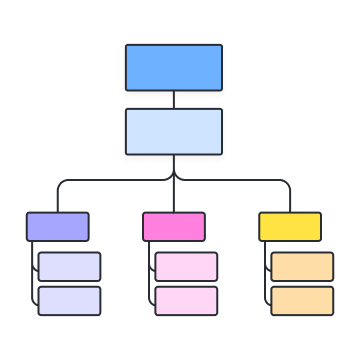
Once you have established the purpose for your org chart, drag and drop an org chart shape onto the Lucidchart canvas. When you double-click the shape, the context panel for org charts will appear on the right.
From that panel, you can format your org chart the way you want it—select the layout and shape style you prefer and choose which employee fields to include. You can select from a list or add your own custom employee fields.
2. Add shapes to represent each person in your organization or team
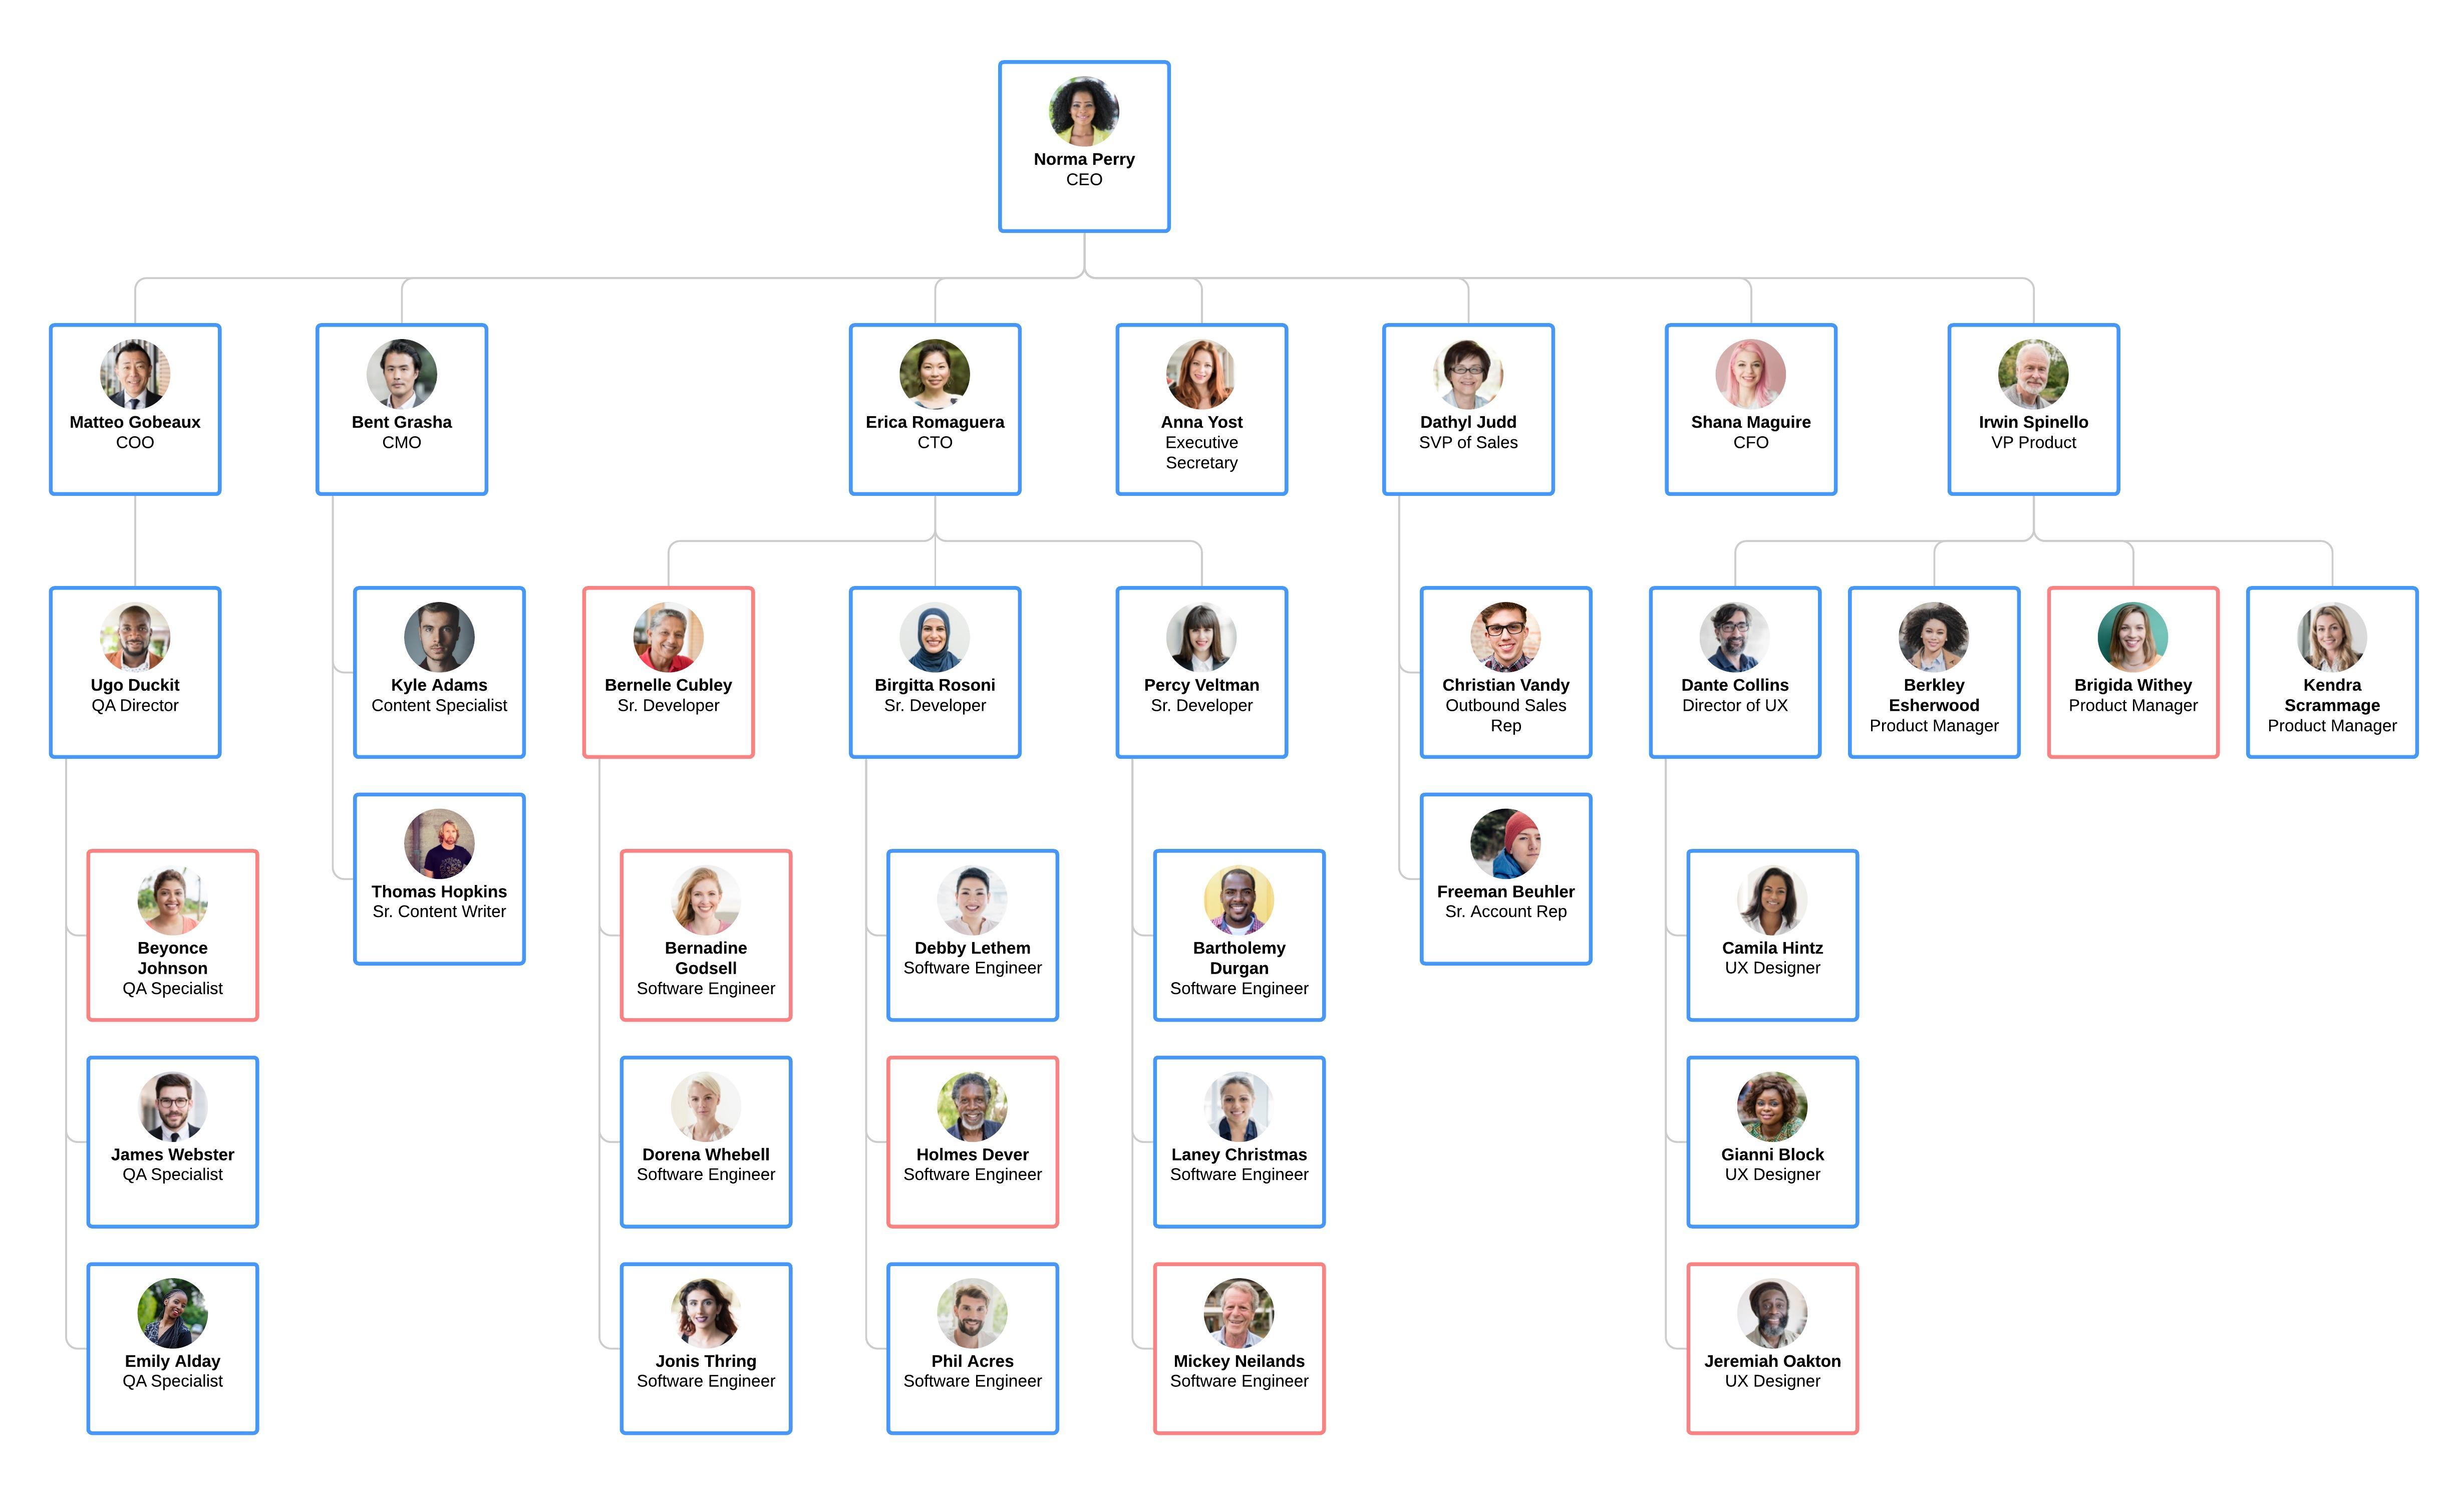
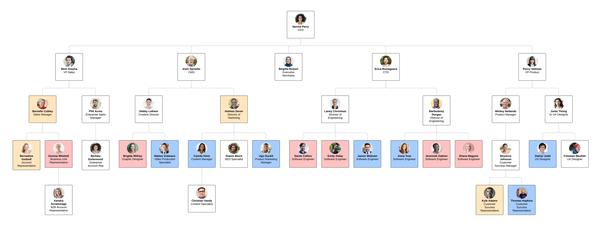
Next, create a shape for each person within the team, department, or organization you’re visualizing. We recommend starting from the top of the organization and working down. For instance, you could start with the CEO or team lead, and then add everyone who reports to them.
To add additional org chart shapes in Lucidchart, you can either click the red “+” buttons around the existing shapes or, within the context panel, go to Data > List View to add employees in a list format.
Lucidchart makes it easy to edit your org chart. Whether you’re looking to transition employees to new teams, change reporting structure, or model other aspects of your organization, drag and drop shapes to move employees around. Lucidchart will automatically adjust the shape spacing and lines so that your org chart remains clear and professional.
3. Add information to shapes
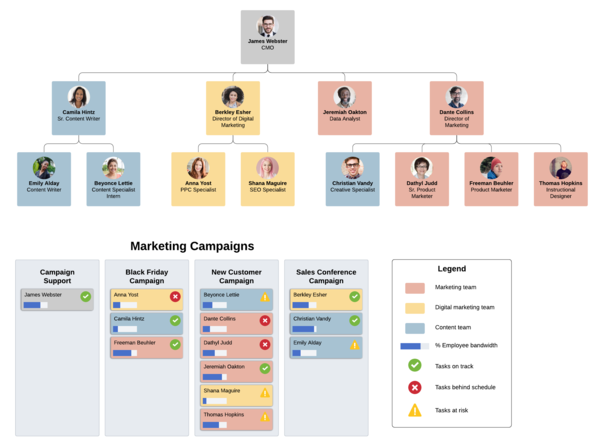
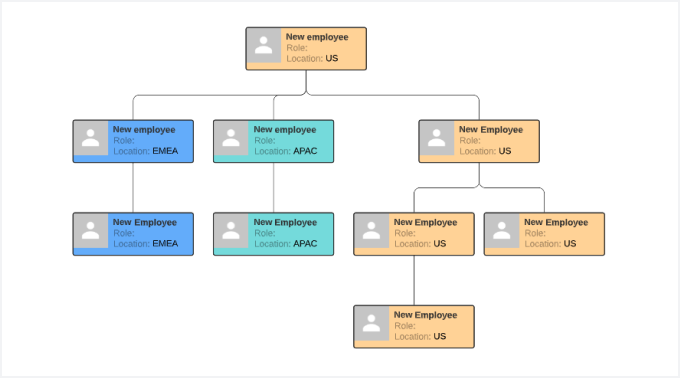
As a starting point to making your org chart a helpful resource for employees, you can include information such as name, role, contact information, and location. Click any shape to edit the employee data within it, and add other employee fields from the context panel.
Master the basics of Lucidchart in 3 minutes
- Create your first online flowchart from a template or blank canvas or import a document.
- Add text, shapes, and lines to customize your flowchart.
- Learn how to adjust styling and formatting within your flowchart.
- Locate what you need with Feature Find.
- Share your flowchart with your team to start collaborating.
How to make an org chart in Excel
How to make an org chart in Excel
Excel is an incredible tool for organizing and synthesizing data and has been built with some rudimentary diagramming capabilities. Including org charts in your Excel spreadsheet can improve both the visual appeal and the utility of the spreadsheet.
1. Insert SmartArt
First, go to the Insert tab > SmartArt in your Excel spreadsheet. To find an org chart template, click on the Hierarchy group on the left, then select the template that you would like to use.

2. Enter text
After selecting an org chart template, you will be able to click into any SmartArt shape and enter text. Since every shape will represent a person in the organization, we recommend first organizing your data to make sure that everyone is accounted for. Unfortunately, Excel does not store more information than the person’s name easily. For a more complete way to build an org chart, skip ahead to learn about Lucidchart.

3. Customize hierarchy
As your organizational structure changes, use the Promote and Demote buttons found in the SmartArt Tools Design tab to move people horizontally. Likewise, the Move Up and Move Down buttons will move people vertically throughout the organization.
In our example, let’s say the VP of Marketing will now report to the VP of Sales. To reflect this change, move the VP of Marketing over until he/she is next to the VP of Sales, then click the demote button while clicked on the VP of Marketing shape.
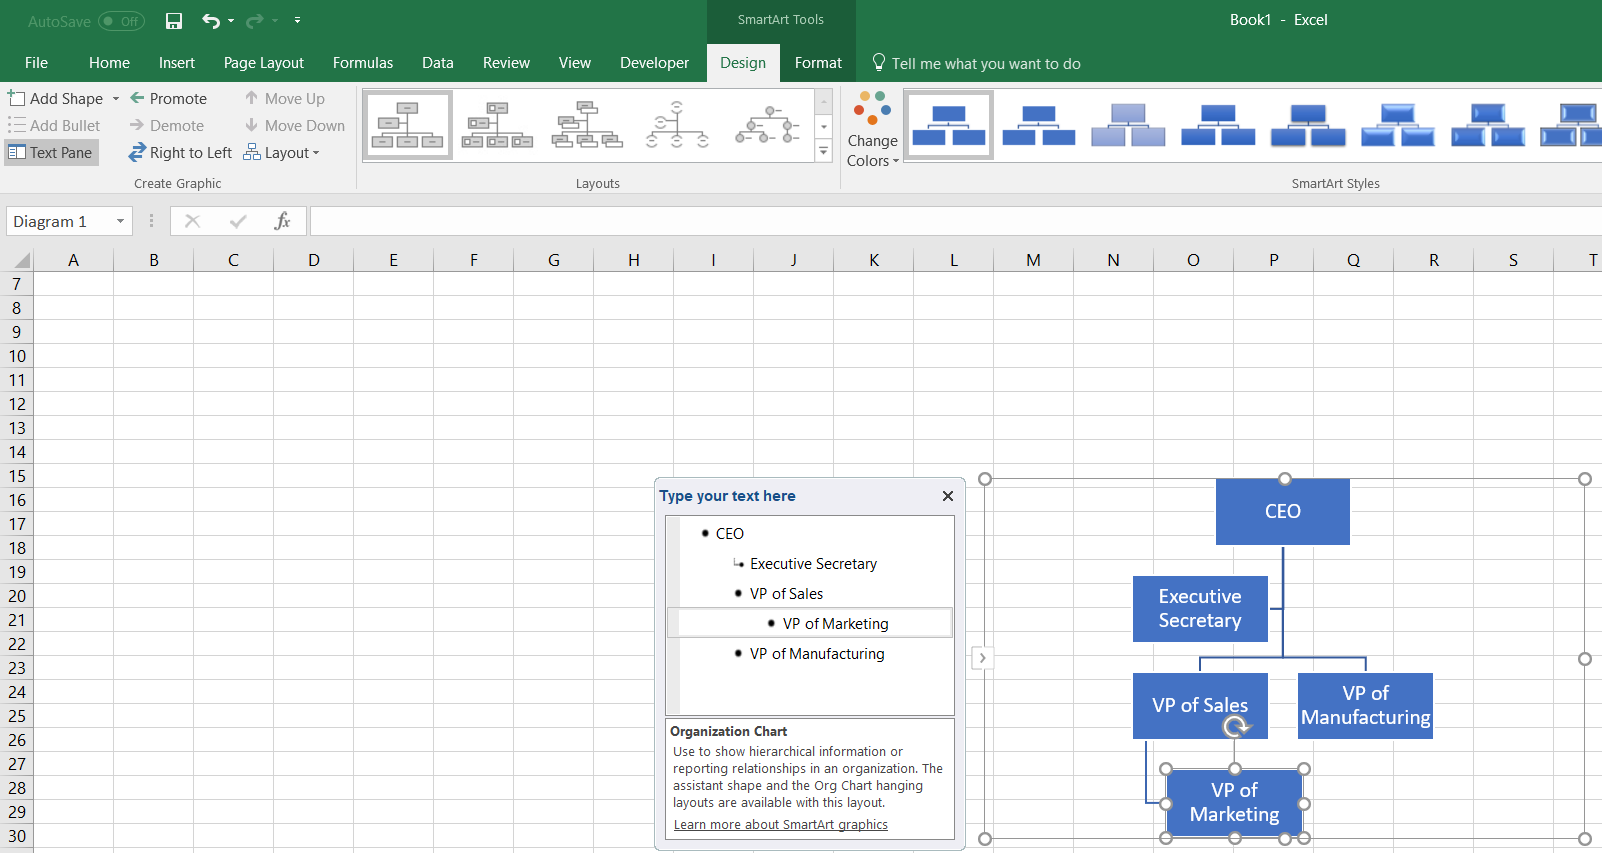
4. Add and remove shapes
Add shapes into your org chart in Excel by clicking “Add Shape” from the SmartArt Tools Design tab. Follow the previous steps to enter text into the new shape and manage its position within your org chart.
Let’s say that your company is growing and two new people are hired. The first will report directly to the VP of Marketing and the second will report to the VP of Manufacturing. To add the new report to the VP of Marketing, click on the existing VP of Marketing shape and find the “Add Shape” button. Do the same for the new hire that will report to the VP of Manufacturing.

5. Format your org chart
Customize your org chart in Excel by changing up the colors, fonts, and sizes of the shapes as found in the SmartArt Tools Design and Format tabs.

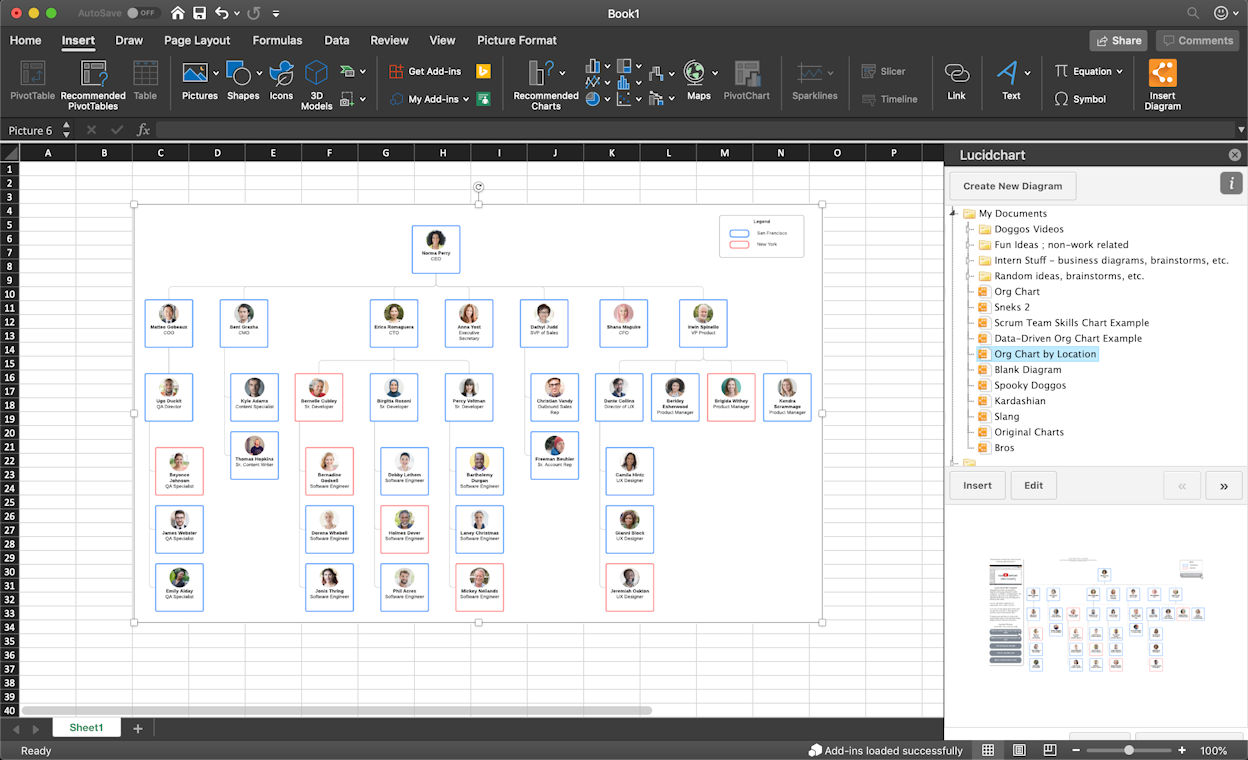
Insert a Lucidchart diagram in Excel
Easily insert your org chart into an Excel spreadsheet after building it in Lucidchart with our MS Office Excel add-in. Here are the steps:
- In Excel, go to Insert > Office Add-ins.
- Search for Lucidchart in the Add-ins store.
- Click "Add."

Access Lucidchart within your Add-ins tab, and insert an org chart that you have already created or create a new diagram.
How to make organizational chart in word
Microsoft Word is a powerful word processing tool. Although it was not built specifically for diagramming, Word can be used to make basic org charts that can enrich your documents, making them more useful for readers.
1. Insert SmartArt
In a Word document, go to the Insert tab and select “SmartArt” to open the SmartArt Graphic Menu. In the Hierarchy group on the left, select the org chart template that you would like to use.

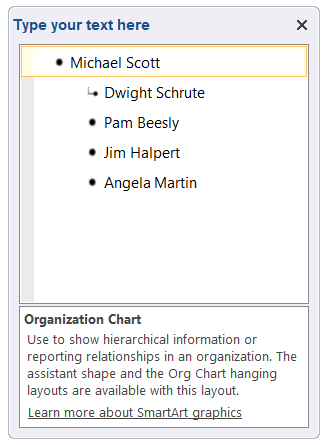
2. Enter text
Once you have selected an org chart template, a menu will pop up that will allow you to enter text for each shape. Each shape represents a person in the structure, so we recommend organizing your data to ensure that everyone is accounted for before you make your org chart. Unfortunately, Word is extremely limited in how much information can be stored in each shape — to build a more robust org chart, skip ahead to learn about Lucidchart.
3. Customize hierarchy
Org charts are incredibly useful for clarifying organizational structure, especially the chain of command. Organizations are often complex, so determining who reports to whom can eliminate corporate confusion and improve office efficiency. To promote someone in an org chart in Word, simply press the Tab key after clicking on their name in the Text Dialog box. To demote them, Shift + Tab will do the trick. Organizational hierarchies can also be managed in the SmartArt Design tab.
Let’s say in our example that Jim gets a promotion and Angela now reports to Jim. To make the org chart reflect this change, click into Angela’s name in the Text Dialog box and press the Tab key. Your org chart will now reflect this change!

4. Add and remove shapes
Most SmartArt templates come standard with five shapes, but it is likely that you will need more than five shapes to model your organization correctly. To add shapes click on the SmartArt Tools Design tab > Add Shape. From here you can manage where the shape goes, who the person reports to, etc.
Let’s say that a new person is hired and will also report to Jim. To do this, click on Angela (who already reports to Jim) and press the Add Shape button from within the SmartArt Tools Design Tab.

5. Format your org chart
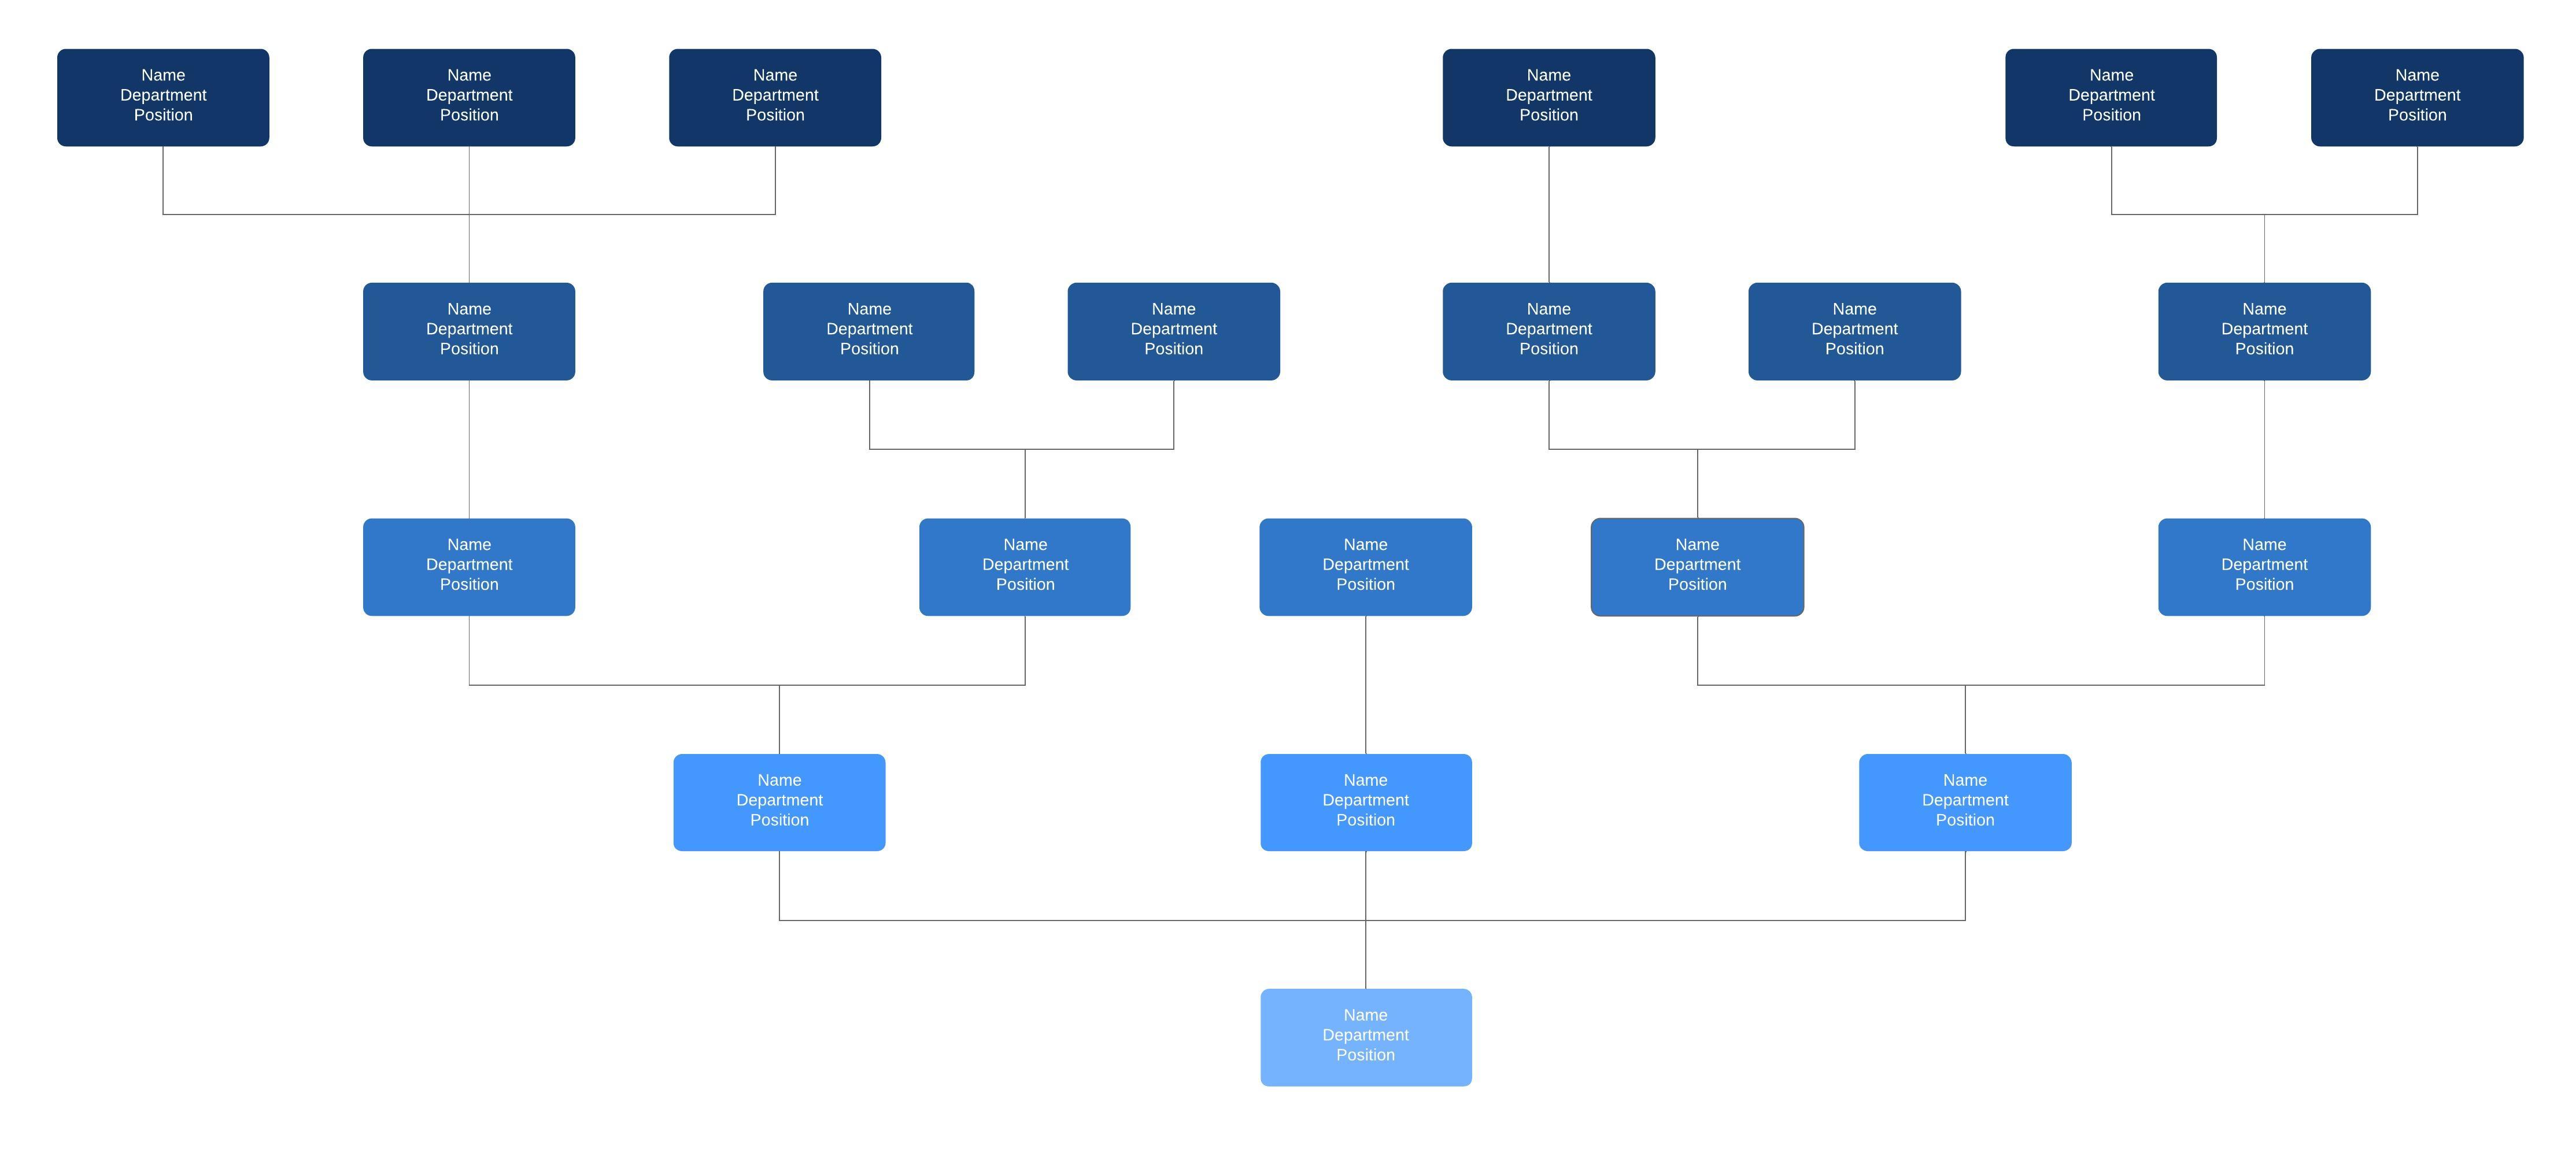
To complete your org chart in Word, play around with the colors, fonts, and sizes of the shapes via the SmartArt Tools Design and Format tabs. The image below shows how we modified the org chart by changing the colors and design of the shapes.

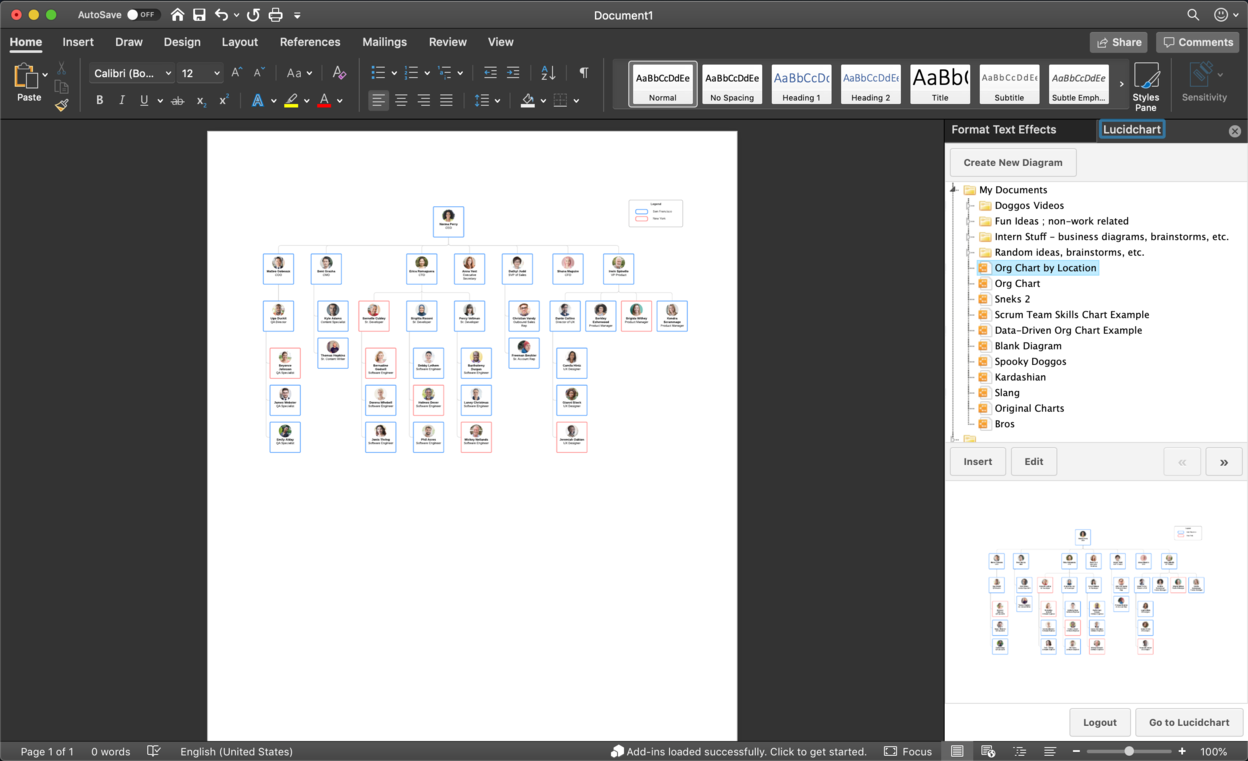
Insert a Lucidchart diagram in Word
After creating your organizational chart in Lucidchart, you can insert your org chart into any Word document. Inserting your Lucidchart diagram into Word is incredibly easy with our MS Office Word add-in. Here are the steps:
- In Word, go to Insert > Office Add-ins.
- Search for Lucidchart in the Add-ins store.
- Click "Add."

Access Lucidchart within your Add-Ins tab, and insert the org chart that you have already created or create a new diagram.
How to make an org chart in PowerPoint
Although PowerPoint is an incredible presentation tool, it’s diagramming functionality is extremely limited, as you will see in following sections. Follow these simple instructions to create your organizational chart in PowerPoint, then read on to learn why diagramming with Lucidchart is so much better.
1. Insert SmartArt
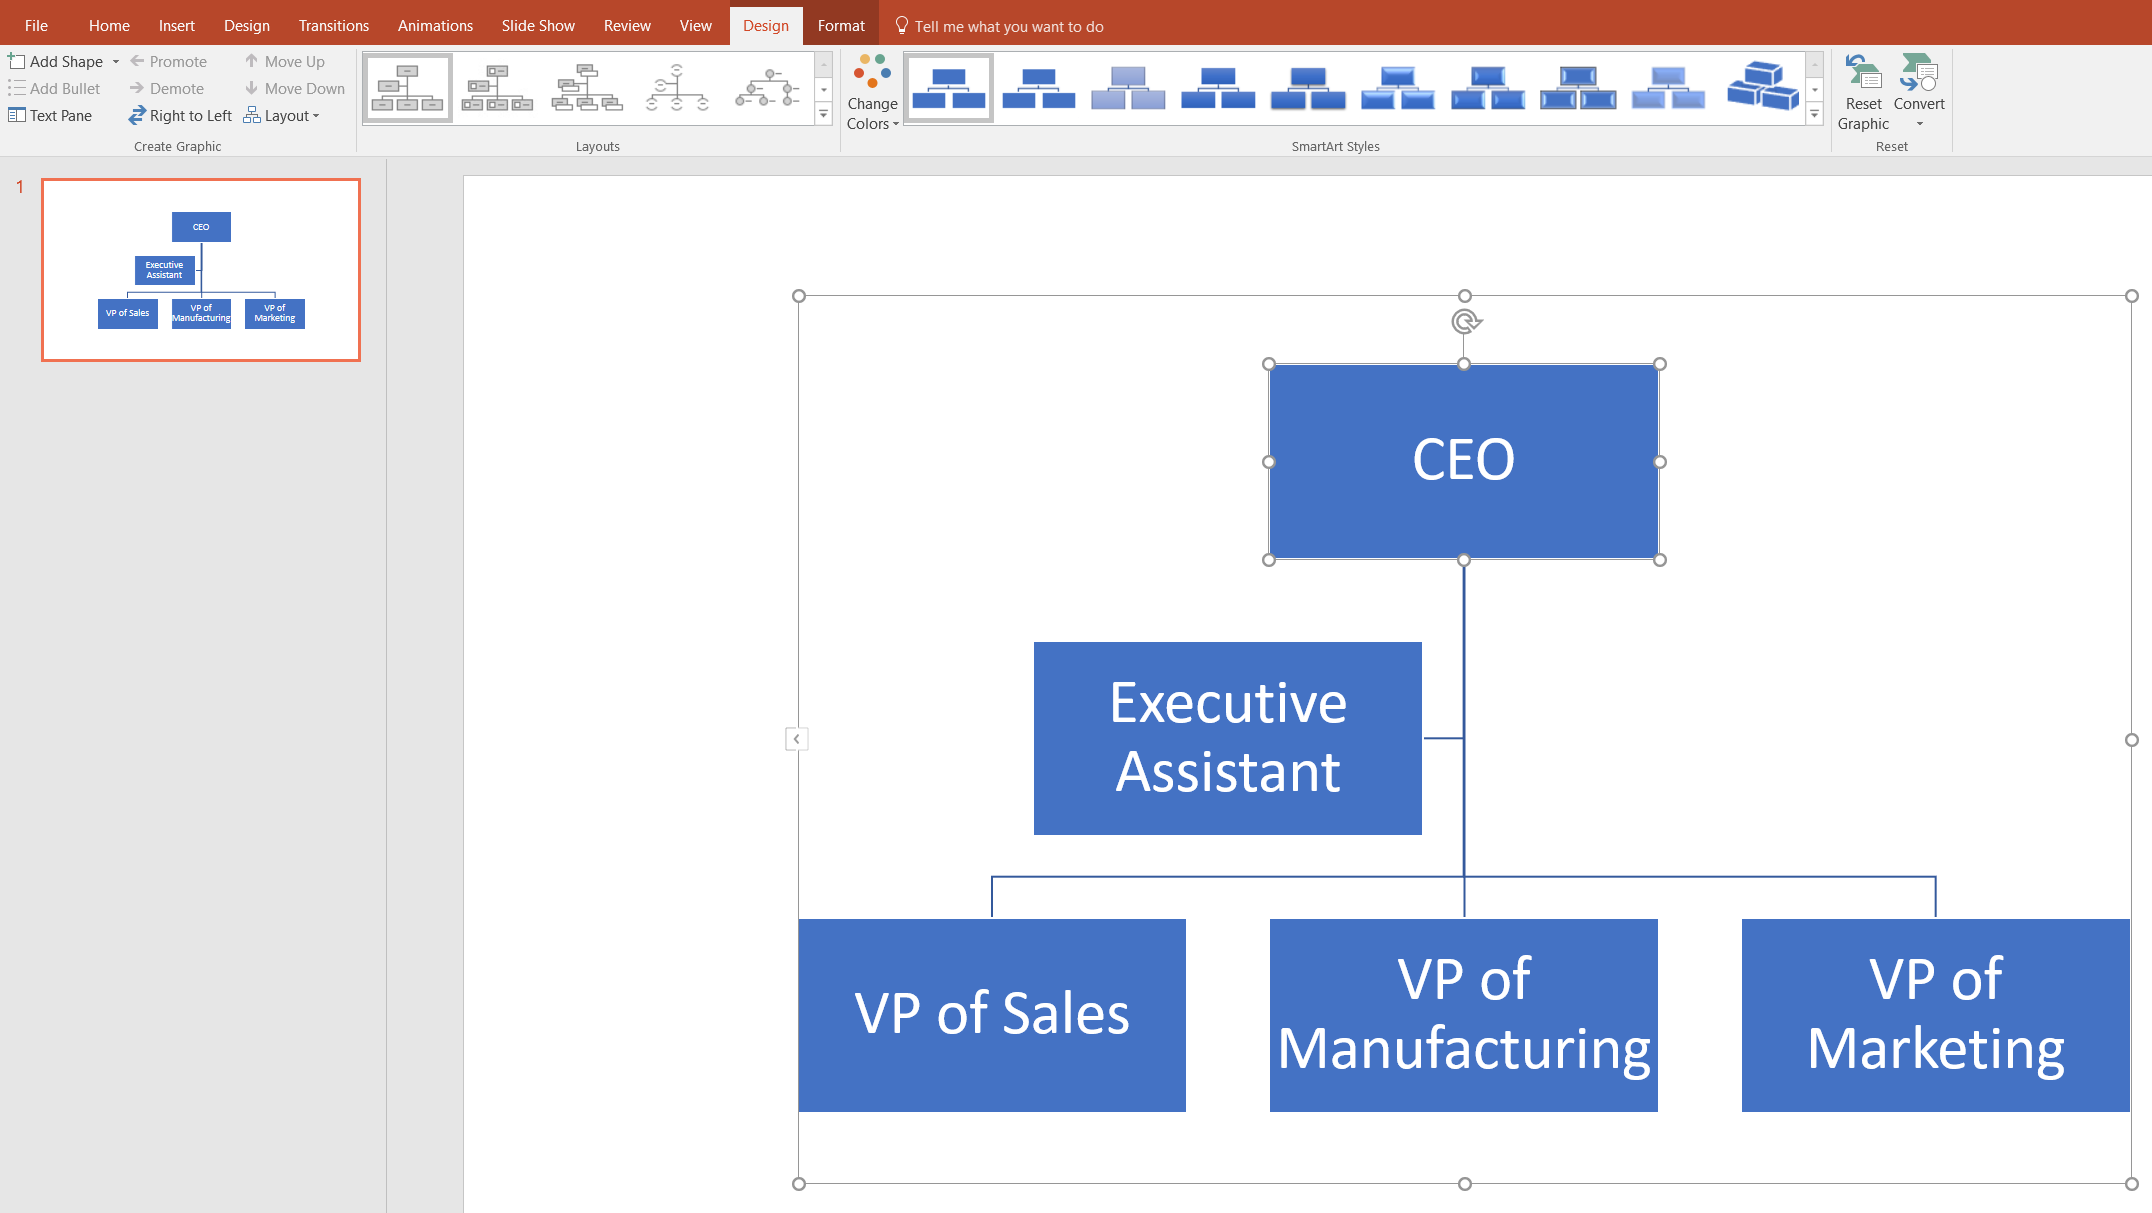
In your PowerPoint document go to the Insert tab and click on SmartArt to get started. After clicking on the SmartArt button, navigate to the Hierarchy group and select the org chart template that will suit your needs.

2. Enter text
Now, click into any of the shapes to add text. Since each shape in an org chart represents a person in the organization, make sure that each person is accounted for in the diagram.
3. Add shapes
It is very likely that SmartArt templates will not have enough shapes for you to model your organization, so you may need to add more shapes. To do this simply click into the SmartArt Tools Design tab and click on the Add Shape button. From this button, you can manage where the person goes in the org chart, who they report to, and who reports to them.
For our example, let’s say that the company has hired a VP of Human Resources who reports to the CEO, and a Sales Rep who reports to the VP of Sales. This can all be done in the SmartArt Tools Design tab by using the Add Shape button.

4. Customize hierarchy
To rearrange the layout of your org chart in PowerPoint, first click on the shape that you wish to move. Then, from the SmartArt Tools Design tab you can manage moving that shape either vertically with the Promote/Demote buttons, or horizontally with the Move Up/Move Down buttons.
Let’s say that while we are making our org chart in PowerPoint the structure of our organization changes and the VP of Marketing will now report directly to the VP of sales. To reflect this change, click on the VP of Marketing, and then find the “Demote” button from within the Design tab.

5. Format your org chart design
Once you have perfected the layout of your organizational chart in PowerPoint you can move on to the aesthetics of the diagram. Play around with fonts, colors, and layout styles as found at the top of your screen to make sure your org chart is both intuitive and useful to readers.

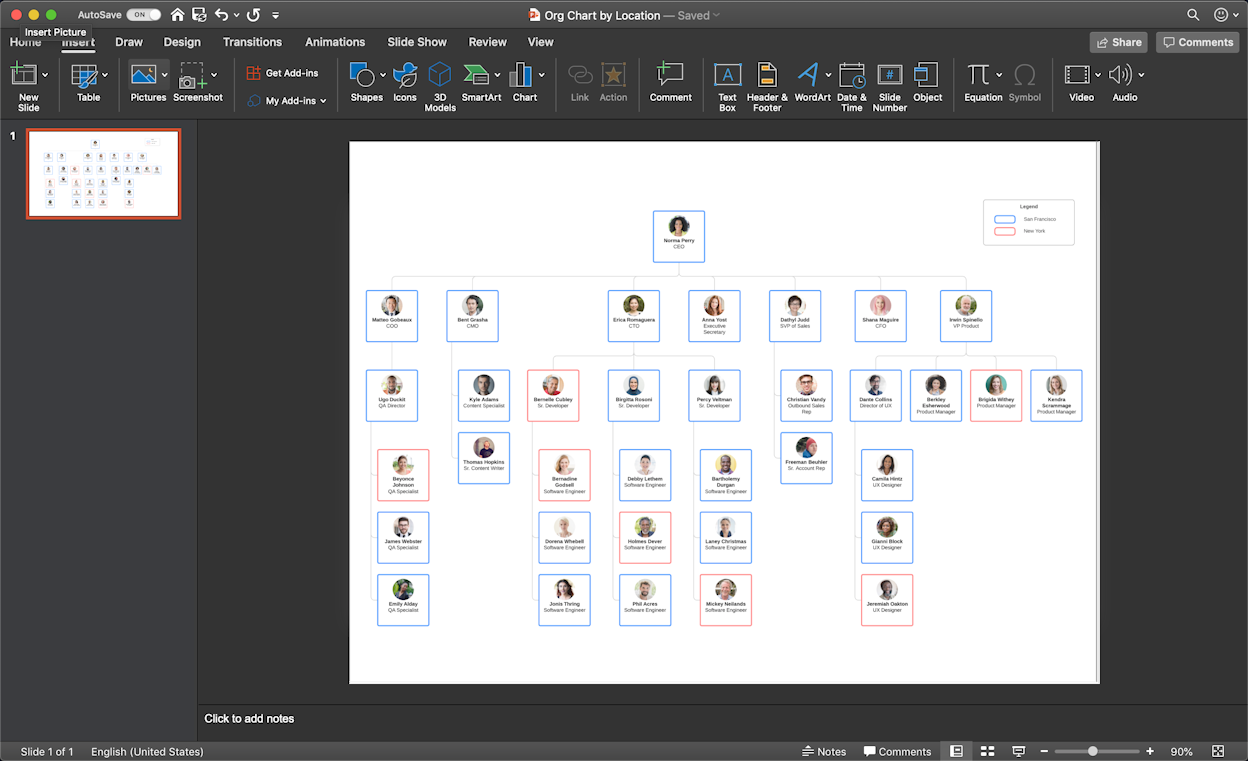
Insert your Lucidchart diagram into PowerPoint
Inserting your Lucidchart diagram into PowerPoint is incredibly easy with our MS Office PowerPoint add-in. Here are the steps:

- Search for Lucidchart and install the Add-in.
- Insert the org chart that you have already created, or create a new diagram.