Building an Aircraft Classifier with Google Cloud AutoML Vision: Part 2
Lucid Content
Reading time: about 7 min
Have you been thinking about checking out Google’s new Cloud AutoML Vision service? Are you interested in what AutoML can do for you and where you should use it? Then read on!
This article is the second in a series about the Google Cloud AutoML Vision service. This series explores AutoML Vision features and capabilities and how they can be used to build a working image classification system.

In the first part of this series, I introduced the Google Cloud artificial intelligence (AI) family of services and then discussed the Cloud AutoML services, focusing on AutoML Vision, the star of this series.
The Cloud AutoML services allow you to build highly accurate machine learning systems with minimal knowledge or experience. AutoML Vision allows you to easily build image classification systems that take advantage of deep-learning algorithms that would normally require significant experience to configure and use.
To continue this discussion and to progress towards building a practical image classification system, I’ll describe how you can build and train a machine learning model with AutoML Vision in just a few simple steps.
Let’s get started!
1. Set up a Google account
First, you’ll need a Google Cloud account. A Google Cloud account allows you to create, manage, and pay for Google Cloud resources like Cloud Storage, Cloud Functions, and Cloud AutoML Vision (the resources you’ll need for an image classifier).
If you don’t have a Google account, you can sign up for a new account.
Note: Creating and using Google Cloud resources will incur cost. A simple object classification system like the one we’re going to build can operate in the Google Cloud free tier, but your experience may differ.
2. Create a Google Cloud project
Google Cloud projects help you organize your Google resources, settings, and permissions and allow you to isolate resources to create security boundaries. Google Cloud resources located in a project are not accessible from another project unless you explicitly enable access.
In addition to a Google Cloud project, the AutoML Vision service also requires that you configure Google Cloud service APIs and service accounts, and create a Cloud Storage bucket for storing training images, metadata, and model artifacts.
Note: The AutoML Vision service is currently in beta release and subject to change, as are these descriptions, screenshots, and instructions.
To make this easier, follow these instructions.

Once you’ve set up your Google account and Google Cloud project, you’re ready to organize and upload your training images for your image classifier.
3. Collect your training images
Collecting and curating training material is one of the most important tasks in machine learning. Machine learning algorithms use the training material to build accurate models, and this requires a large number of images of sufficiently high quality.
Here are some helpful tips for collecting images for your image classification system:
-
More is better. AutoML Vision recommends a minimum of 100 images per category; however, this recommendation should be treated as an absolute minimum. Accurate image classification systems often require thousands of images, tens of thousands of images, or even more. For your image classification system, the more training images you provide for each classification category, the more accurate the resulting model can be.
-
Check for quality. When selecting images for your training material, remember the expression “garbage in, garbage out.” Low-quality training images can lead to poor quality models and incorrect predictions.High quality training images are clear, focused, and composed primarily of the object you are trying to classify. The higher the quality of training images you provide for your image classification system to train with, the more likely your machine learning mode predictions will be.
-
Include some imperfect images. Not every training image needs to be perfect—as a matter of fact, it’s often helpful if some of them aren’t. Training your machine learning model with perfect sample images could lead to a model that is “overfit.” Overfit models have difficulty classifying objects that are different than those trained with.
Once you’ve collected your images and quality-checked them, you can create your AutoML Vision database and train your model.
4. Create an AutoML dataset
AutoML Vision manages your images and labels using a dataset. Before you can train a model, you must first create a dataset, and then you can label your training images.
Note: The instructions described below are based on the AutoML Vision beta service available at the time this article was written.
To create a new dataset, navigate to the AutoML Vision console. From here, first verify that the correct project is selected (the project created in the previous step or another of your Google Cloud projects that you’ve configured), and then click “NEW DATASET.”

When prompted, enter the name of your dataset, choose “Import images later,” and click on the “CREATE DATASET” button.

This will create a new, empty dataset, one that is ready for you to import your training images into.
6. Label and upload training images
Each image in a dataset must have at least one label associated with it. If an image is not labeled, it will not be used for training (you can create multi-label datasets, but need to specify that when creating the dataset).
To create labels for your image categories, click the “ADD LABEL” link and enter the name of the one of the categories. Repeat for each of your image categories.

Select one of the labels previously created, and then click the “ADD IMAGES” link. Choose the “Upload from your computer” option. When prompted, select and upload the images for the label you selected.

Repeat this process for each of the labels you created until all of your images have been uploaded. Depending on the number and size of images you are uploading, this could take some time.

Note: In a production environment, instead of uploading from your computer, you’d more likely upload the images to Cloud Storage and create a CSV manifest file to import. This method is more flexible and scalable that manually importing files.
7. Train your model
Once you have successfully added all of the images to your dataset, you can start training your model. First, switch to the TRAIN tab on the AutoML VIsion console and verify that you have enough images to begin. If you don’t, add more.

Click on the “START TRAINING” button. When prompted, click the “START TRAINING” link (use the defaults). Note the first hour of training for the first ten models per month is free. After the first hour, standard training rates apply (currently $20.00 per hour).

Wait for the training session to complete. For a simple model (less than 5,000 images), this usually takes less than an hour. When the training session is complete, the AutoML system will send you an email notification.

8. Validate the results
Once training is done, switch to the “EVALUATE” tab, review the results, and examine the statistics associated with the training session.

In particular, the confusion matrix should produce a nice diagonal pattern indicating that images were correctly classified. If it doesn’t, you may need to provide additional training images or train your model for a longer period of time.

For the purposes of this article, the pattern seen above is fine. In a production environment, you may need additional accuracy before deploying.
9. Test your model
Now that the model has been trained and you’ve reviewed the results, it’s time to test the accuracy of the model against images it hasn’t seen before.
Switch to the “PREDICT” tab, and click the “UPLOAD IMAGES” button. Choose one or more images that you didn’t include in the training images to test your model against.


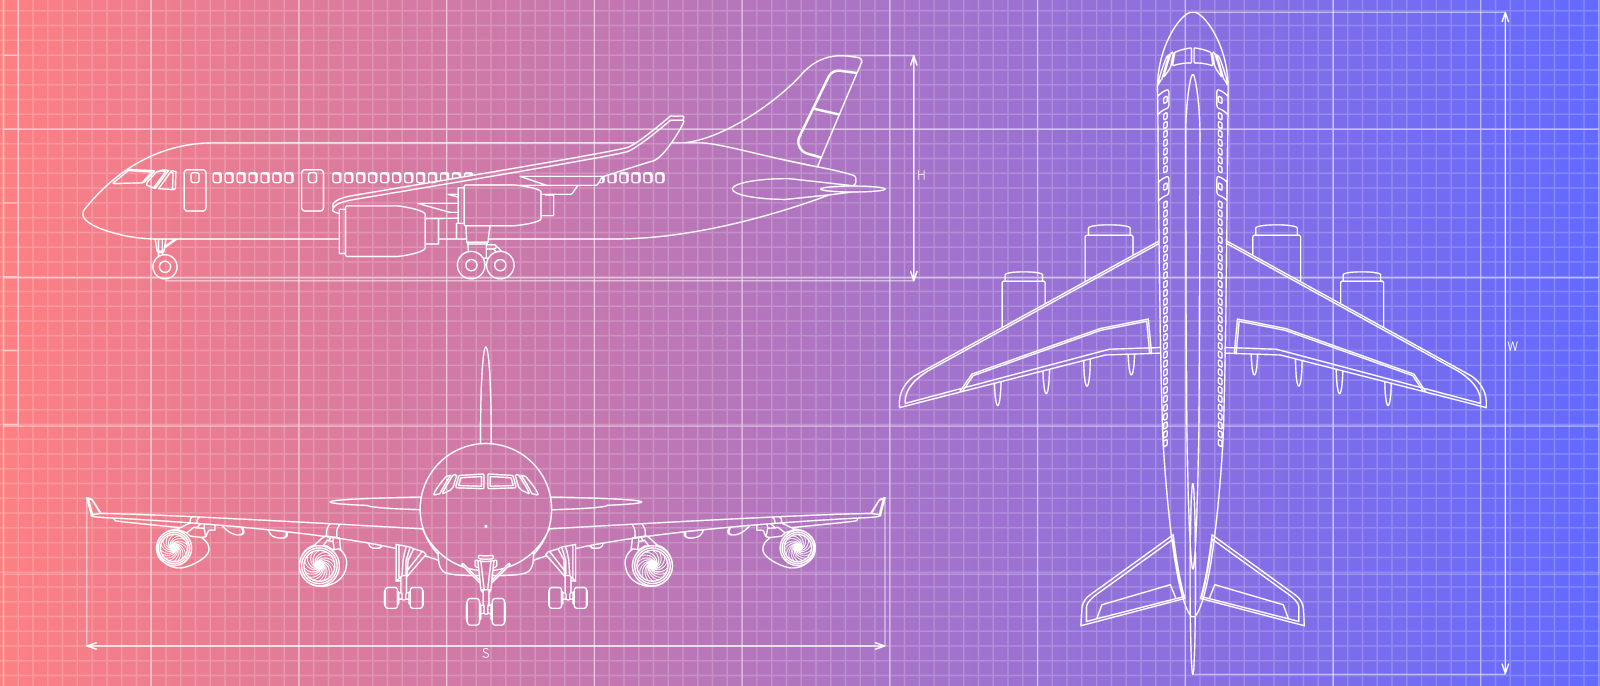
You can see a working example of the aircraft classifier I built here: http://acml.jerryhargrove.com. Upload an image of an aircraft or provide a URL to an image, and the classifier will let you know what kind of aircraft is in the image.
More to come
The third and final part in this series will detail how to build a complete web application to validate and share the trained AutoML model with others. I’ll include instructions on how to use Google Cloud Storage to build a static website to host the web application and how to use Google Cloud Functions to act as a gateway to the AutoML model.
About Lucidchart
Lucidchart, a cloud-based intelligent diagramming application, is a core component of Lucid Software's Visual Collaboration Suite. This intuitive, cloud-based solution empowers teams to collaborate in real-time to build flowcharts, mockups, UML diagrams, customer journey maps, and more. Lucidchart propels teams forward to build the future faster. Lucid is proud to serve top businesses around the world, including customers such as Google, GE, and NBC Universal, and 99% of the Fortune 500. Lucid partners with industry leaders, including Google, Atlassian, and Microsoft. Since its founding, Lucid has received numerous awards for its products, business, and workplace culture. For more information, visit lucidchart.com.
Bring your bright ideas to life.


By registering, you agree to our Terms of Service and you acknowledge that you have read and understand our Privacy Policy.