
Flowcharts are an ideal way to break down complex information into easy-to-understand visuals. Using shapes and lines, these diagrams make communicating complex processes simple and straightforward. This step-by-step guide will explain how to create a flowchart in Microsoft Word, both from scratch and using a Lucidchart template.
Brush up on how to use a flowchart with this helpful guide.
7 minute read
Want to create a flowchart of your own? Try Lucidchart. It's fast, easy, and totally free.
How to create a flowchart in Word
While Microsoft Word offers a few basic features that make it possible to build rudimentary flowcharts, it is limited. Word simply wasn’t designed for diagramming. Lucidchart lets you create intuitive flowcharts fast and easy. While we’ve provided all the steps to build a flowchart in MS Word below, we recommend starting with Lucidchart to save time (skip to the next section to learn how!).
There are two ways to build flowcharts using only Microsoft Word: with SmartArt or with the shapes library. This tutorial will cover both methods, touching on some of the pros and cons of each approach.
Create a flowchart with SmartArt
SmartArt graphics are pre-made collections of shapes that are extremely basic and rigid templates. If you need to create quick and simple diagrams, SmartArt is a great option. While it's faster to use SmartArt to make charts and diagrams, it lacks flexibility. The clip art limits you to one or two preselected shapes.
If you choose to use SmartArt to build your diagram, follow these steps:
1. Select a flowchart from the SmartArt drop-down menu
Navigate to Insert > Illustrations > SmartArt. A pop-up window will open. In the SmartArt window, select “Process” to see the various flowchart options. Select the diagram you want and click “OK” to place it into the document.

2. Add text
There are a few ways to add text to your flowchart:
-
Use the Text Pane that appeared when you opened your flowchart. Simply click “[Text]” and then begin typing.
-
Double-click inside the shape you wish to add text to and just type it out.

3. Add additional shapes
To add shapes, select the entire SmartArt graphic and click “Add Shape.” (This button is located in the toolbar’s upper-left corner.) Click and drag shapes to move them within the diagram. When you do this, the arrows will automatically adjust.
If you wish to change a shape in the diagram, right-click the shape you want to change. In the panel that appears, hover your mouse over “Change Shape” and select a new shape.

4. Customize your flowchart
Your flowchart is almost finished—all that’s left is to customize it. When you select your SmartArt diagram, two tabs appear in the upper right-hand side of the toolbar: “Smart Art Design” and “Format.” The SmartArt Design tab lets you change the diagram type, choose from a number of preset color schemes, and add shapes. For more specific customizations, use the Format tab to modify the individual shape color, text color, and font.

Want to create a flowchart of your own? Try Lucidchart. It's fast, easy, and totally free.
Create a flowchartCreating a flowchart using the shape library in Word
Starting a flowchart from scratch using the shape library will take longer to create, but it gives you more flexibility to customize your diagram. To create a more traditional flowchart using process and decision boxes, the shape library is the way to go, as SmartArt doesn’t have any diagrams with these features pre-built.
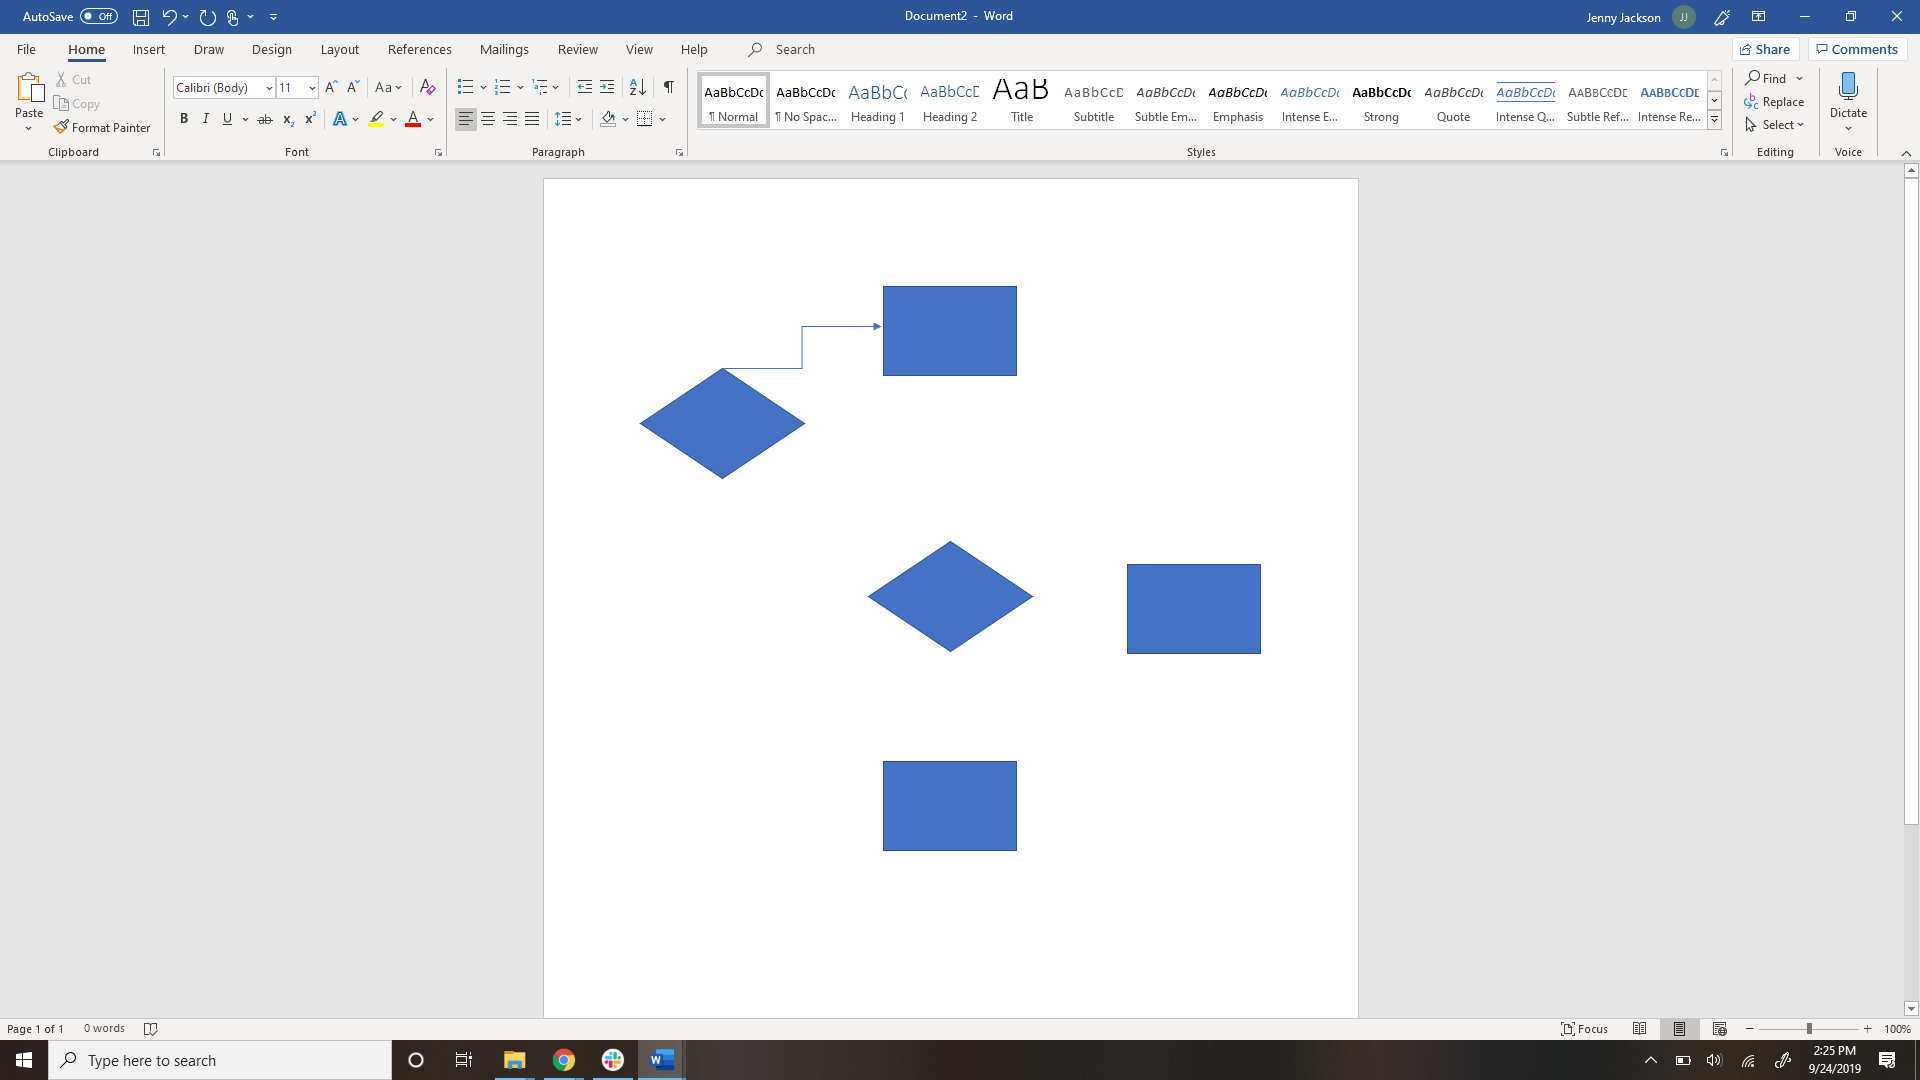
1. Add the necessary shapes
Go to Insert > Illustrations > Shapes. A drop-down menu will appear when you click on “Shapes.” Find the shapes labeled “Flowchart.” Here is where you will find all of the necessary shapes for building a flowchart, like process and decision boxes. Hovering over the shape will show you each of the shape’s functions.
Next, click and drag your mouse to draw the shape in your document. Repeat these steps to add more shapes.
Helpful tips:
-
Hold the Shift key when drawing shapes to ensure they remain the correct height and width.
-
To save time, copy and paste shapes that occur repeatedly in your diagram (like a process box) after you have drawn them once.

2. Add connecting lines
No flowchart is complete without arrows connecting your shapes together illustrating the diagram’s “flow.” To add lines, go to Insert > Illustrations > Shapes. Arrows can be found in the section titled “Lines.”
After selecting the arrow, click and drag your mouse from one shape to another to connect them.
Helpful tip:
-
Hold the Shift key when drawing the arrow to create a straight line between the shapes.
3. Label your shapes and lines
Adding text to your shapes is a bit different than with SmartArt. Right-click the shape and click “Add Text.” A cursor will appear in the middle of the shape and you can begin typing.

Adding text to lines and arrows requires a text box. Go to Insert > Text Box and click and drag your mouse to create a text box in the correct size, type to add your text. Move the text over the designated line.

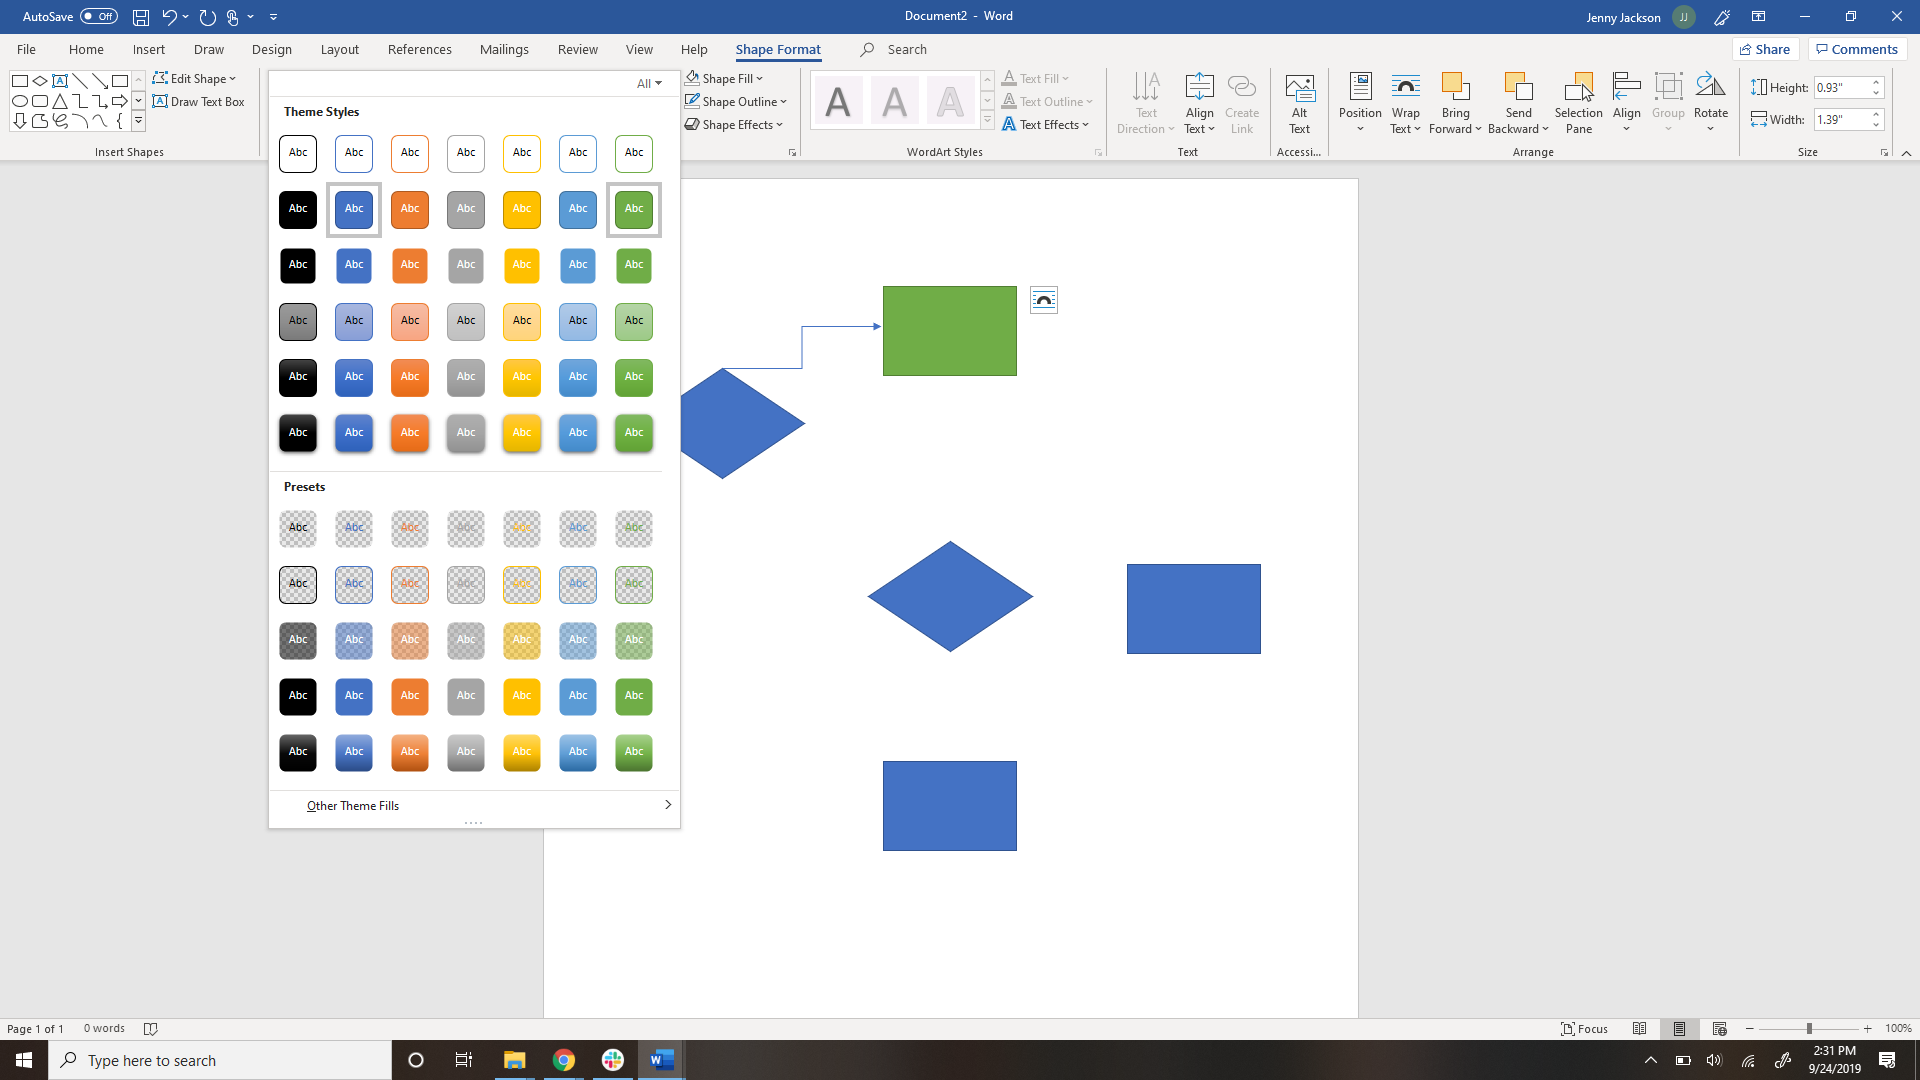
4. Customize your flowchart
Shapes can be customized in the format shape pane found in the top right-hand corner. You can edit fill color, line weight, opacity, text font, text size, and more to design your flowchart to your liking.
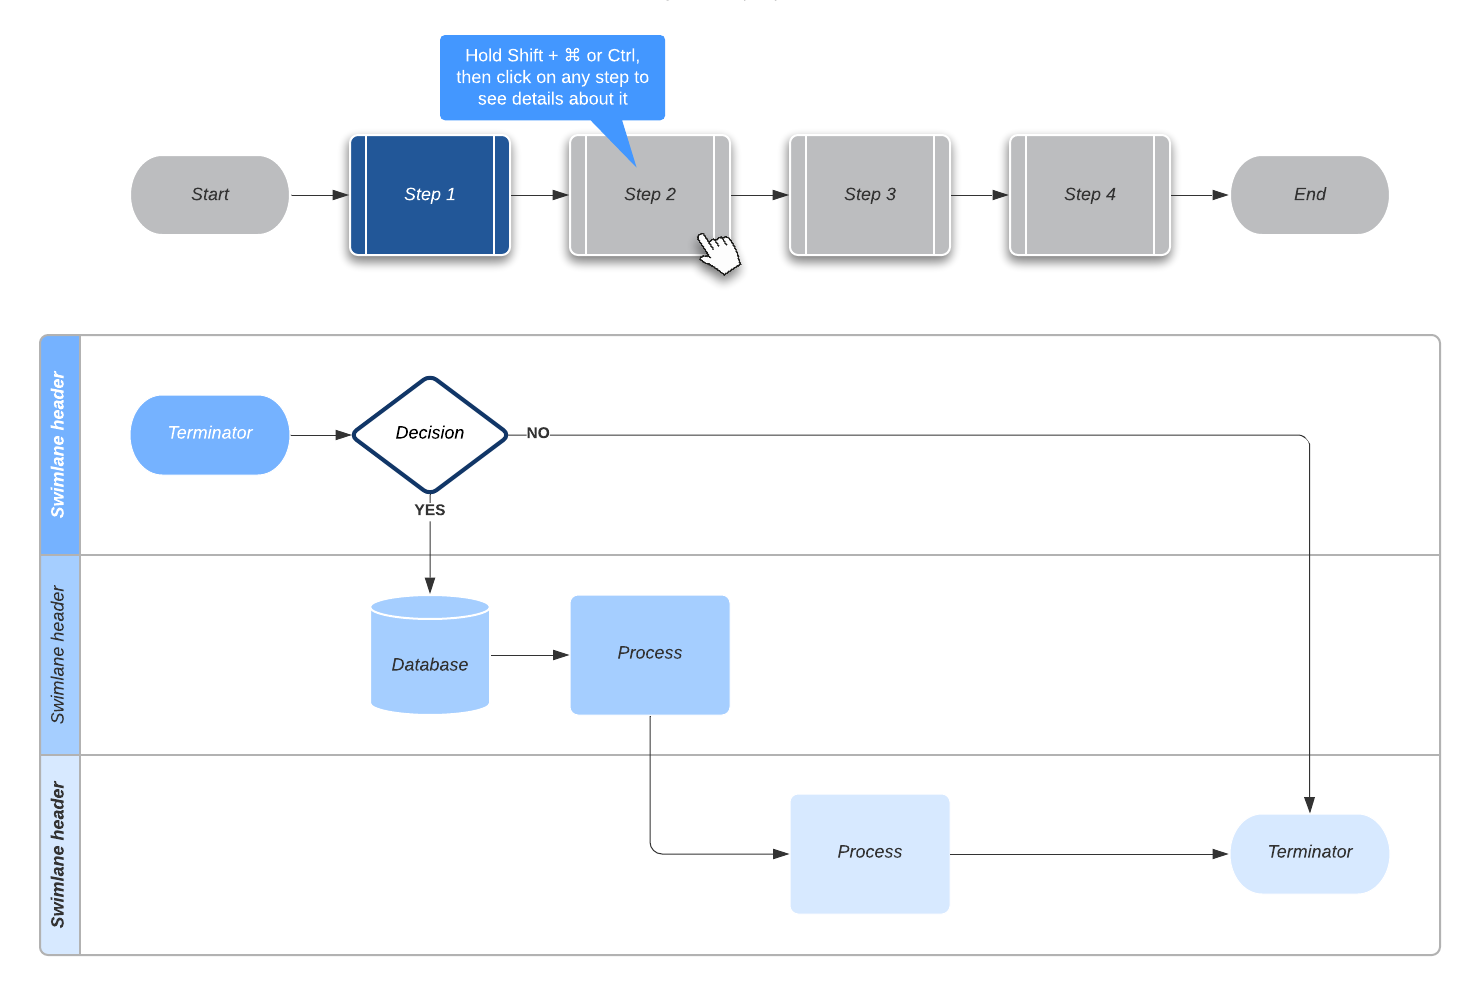
How to create a flowchart using Lucidchart
You’ll notice there are several pros and cons to using Word as a flowchart creation tool. While Microsoft Word allows you to add text boxes, alter shape and line color, and perform basic formatting tasks, the entire experience is static. With Lucidchart, elements are highly responsive; plus, you can collaborate with colleagues or friends.
Before getting started on your flowchart, you’ll need to register for a free Lucidchart account—all it takes is an email address! Once registered, you’ll be all set to move on to the steps below.
1. Choose a template or start from scratch
Lucidchart offers dozens of pre-made flowchart templates in its library. To find the perfect flowchart that fits your needs, click the “+Document” button or the “More Templates” button and select “Flowchart” from the list on the left panel. For more information on the different templates, click it once to read more about it.
All Lucidchart templates are completely customizable—move, add, or delete shapes and arrows until the diagram suits your needs.
To build your diagram from scratch, open a blank document by clicking “+ Blank” on the top of the home page.
2. Add shapes and lines
Lucidchart’s intuitive interface makes it easy to quickly add all the shapes, lines, and text you will need. By default, the Flowchart shape library is pinned to the left in the shape menu. Drag and drop shapes onto the canvas to start diagramming. To connect the shapes, click and drag your cursor drawing an arrow between them.
Helpful tip:
-
Draw lines connecting the red dots to keep the shapes linked.


3. Add text
Once your flowchart is diagrammed with necessary shapes and lines, it’s time to add the text. Simply double-click the shape or arrow of your choosing and begin typing. Editing the text is just as easy—repeat the same process. Modify the text size, font, color, and more using the properties bar at the top of the editor.
4. Format and customize your flowchart
Now your flowchart probably looks a bit boring, but you can change that quickly by customizing the shapes and lines. Select the “Theme” button (the droplet icon) located on the right-hand side of the editor to set a theme. A pane will open with a variety of themes and color schemes to select—click one to apply it to your diagram. Even if you used a template, you can change the theme.
You can also modify shapes individually using the properties bar. Format line weight, fill color, gradient, and opacity with the toolbar to customize nearly every aspect of your shapes.

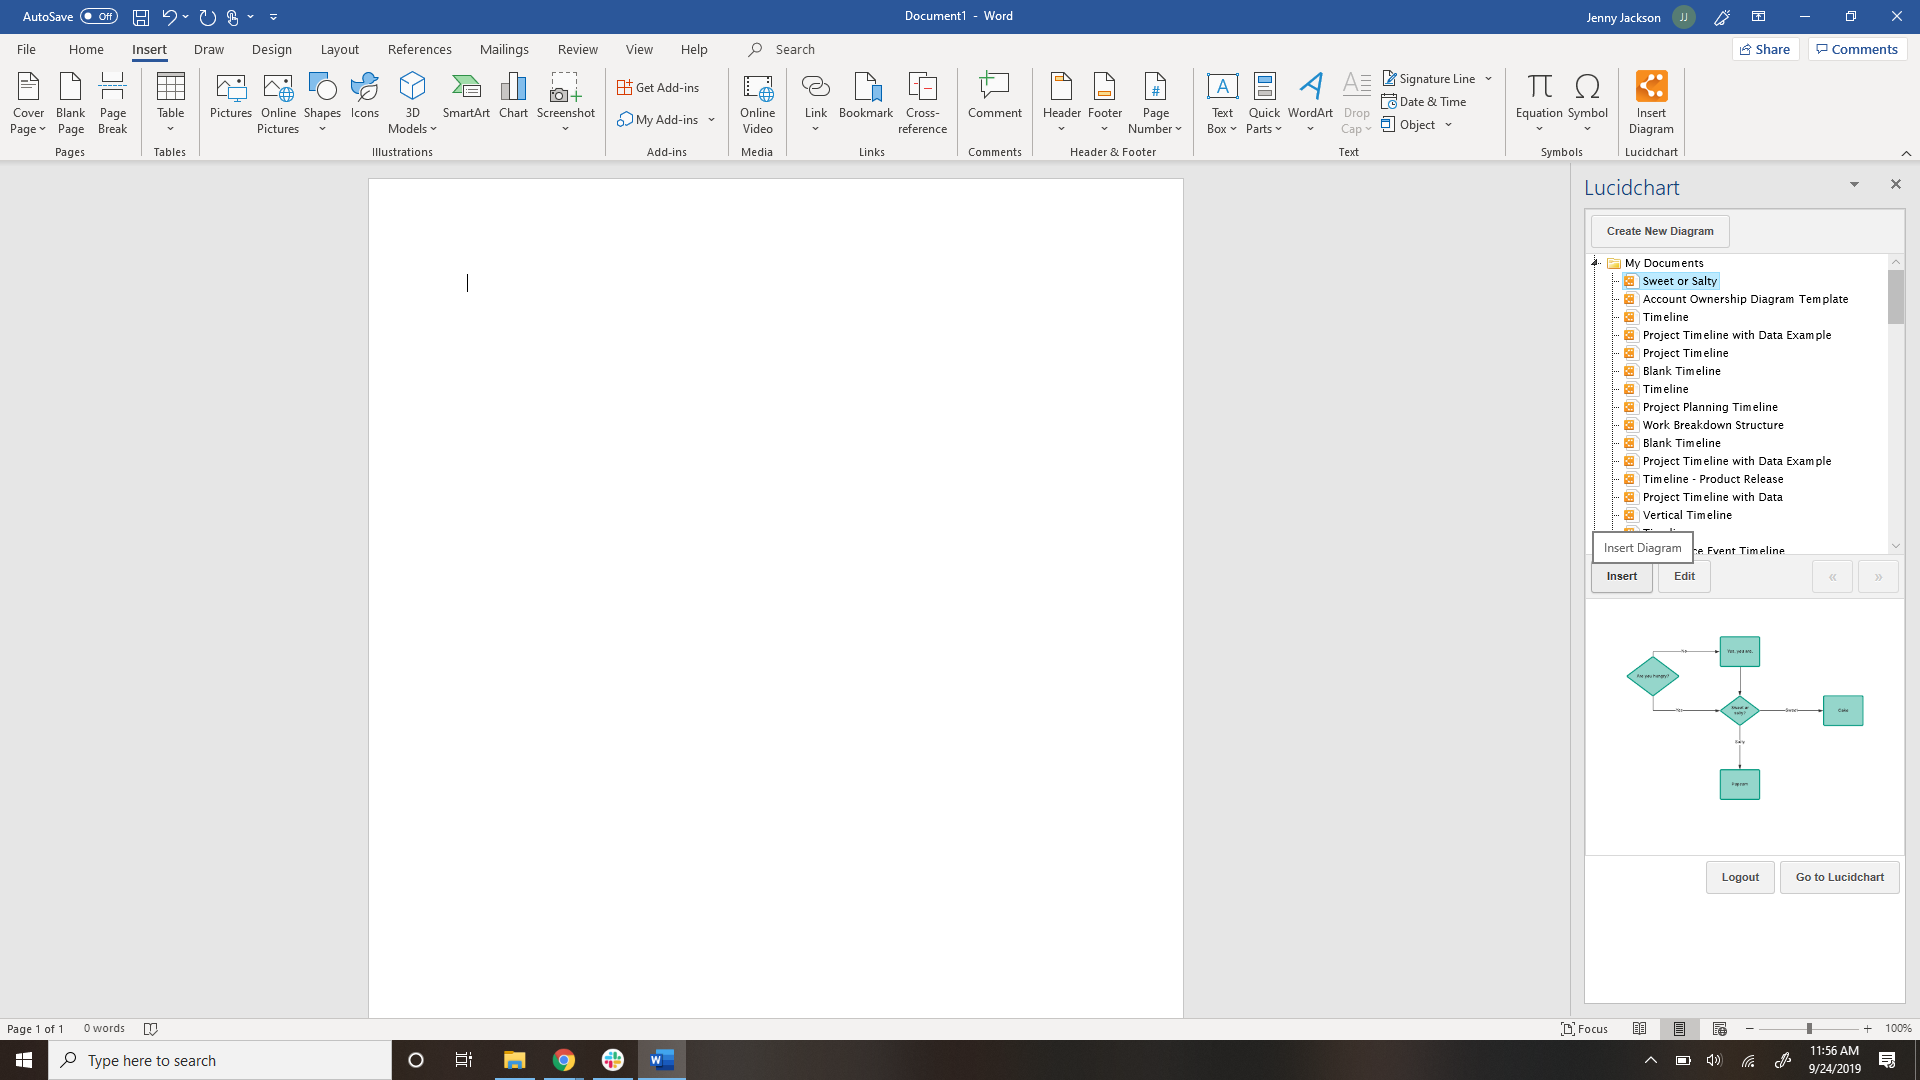
Insert a Lucidchart diagram into Word
With the Lucidchart add-in for MS Word, you can add your finished flowchart to any document in a matter of minutes—just follow the steps below:
1. Install the Lucidchart add-in
Open Word and go to Insert > My Add-ins > Store. Type Lucidchart in the search bar and click “Add.”

If the Lucidchart add-in doesn’t open when you download it, simply go to Insert > My Add-ins > Lucidchart.
A side panel will appear. Complete the walkthrough and click “Get Started.” You will be prompted to log in with your Lucidchart credentials.

2. Select a diagram to add to your Word document
After you are logged in, a Lucidchart pane will open on the right side of the document. To insert a diagram, find your flowchart in the file panel and click on it. A preview will open below the file tab to ensure you have the correct diagram. Then select “Insert.”
For more info on how to use the Lucidchart add-in, watch our video tutorial.
3. Edit your diagram
To edit the diagram after inserting it, click the “Edit” button (located on the toolbar next to the “Insert” button). It will open Lucidchart in a new window where you can make any changes that you need.

If you’re struggling to make a flowchart in any MS Office programs, Lucidchart can help. Just like with MS Word, you can import diagrams into MS PowerPoint and Excel with the Lucidchart add-in—it’s quick and easy!