Note: Lucidspark, our virtual whiteboard, makes it even simpler to build out your project timeline with dynamic timeline shapes. Sign up for a free trial and plan out key milestones and assignees with ease.
3. Customize your timeline
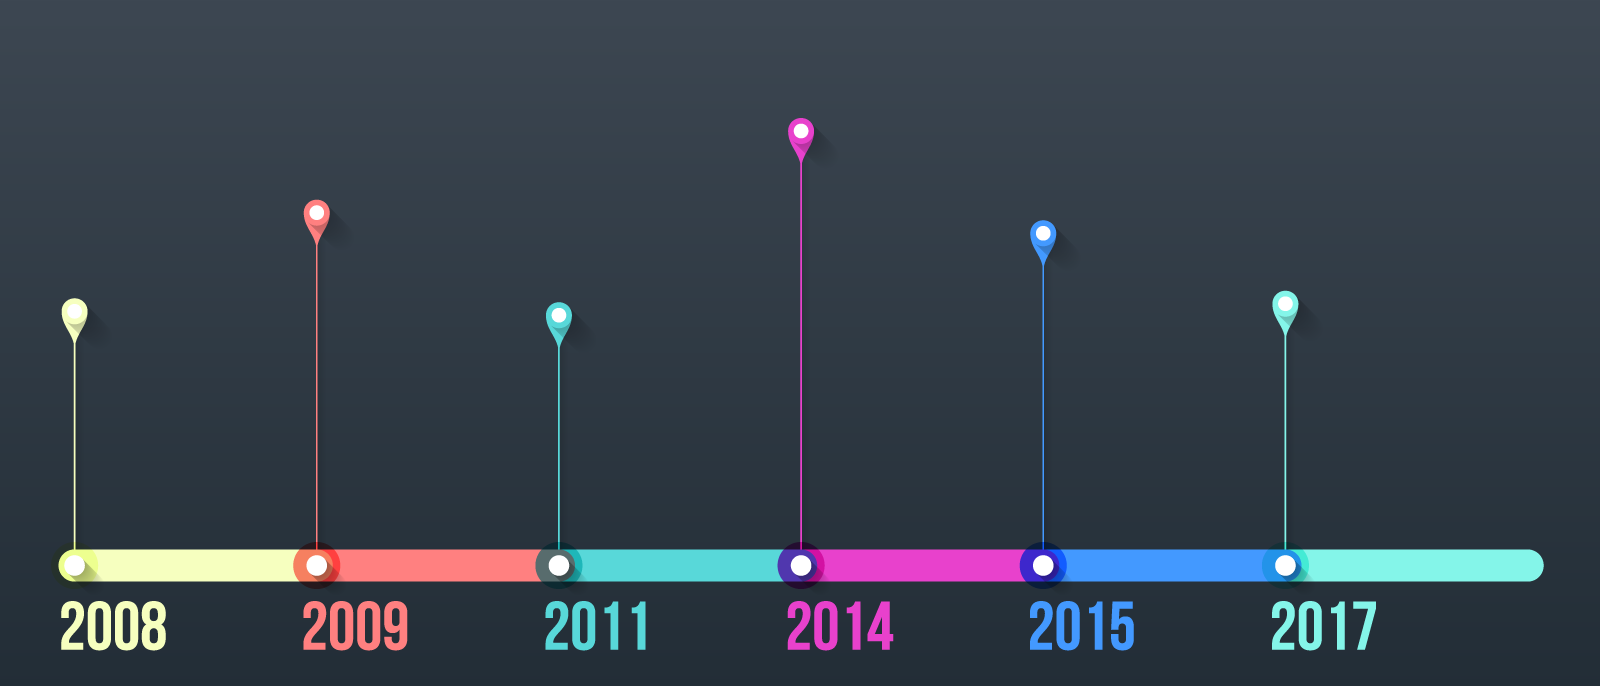
Create a timeline from scratch, or adjust the dates on the template to fit your project.
4. Install the Lucidchart add-in for Microsoft Word
You can add Lucidchart from the Microsoft Store or from Microsoft Word by selecting Insert > Office Add-ins. From there, you’ll need to search for Lucidchart and click “Add” to install. The add-in will appear in Word as a right-hand sidebar.
5. Insert your timeline chart in Word
Connect your Lucidchart account, select your timeline from your existing diagrams, and click “Insert” to add your timeline directly into your Word document. From the add-in, you’ll also be able to access the Lucidchart canvas to make any changes to your document—just remember to re-insert your diagram afterward (it just takes one click!).
How to make a timeline in Word directly
Want to try your hand at making a timeline directly in a Microsoft Word document? Follow these simple steps to make your timeline chart using Word’s SmartArt tools.
1. To begin creating your Word timeline, select Insert > SmartArt.
2. In the "Choose a SmartArt Graphic" gallery, select Process. Here you’ll find several options for your timeline (we recommend “Basic Timeline”). Select the best option for your project to proceed.
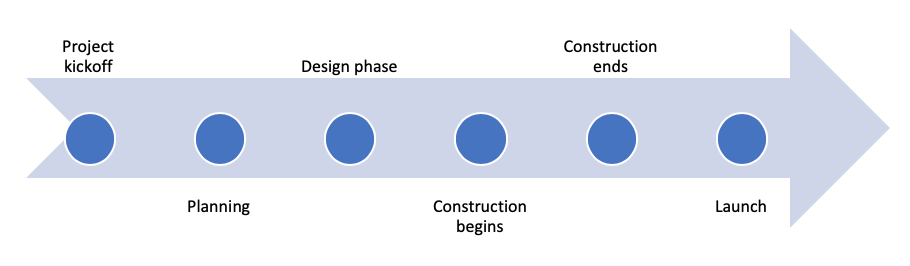
3. A basic timeline will generate on your document. Position the timeline where desired, making sure to leave space on both the top and bottom of your timeline for milestone data.
4. Click [Text] to begin entering your timeline data.
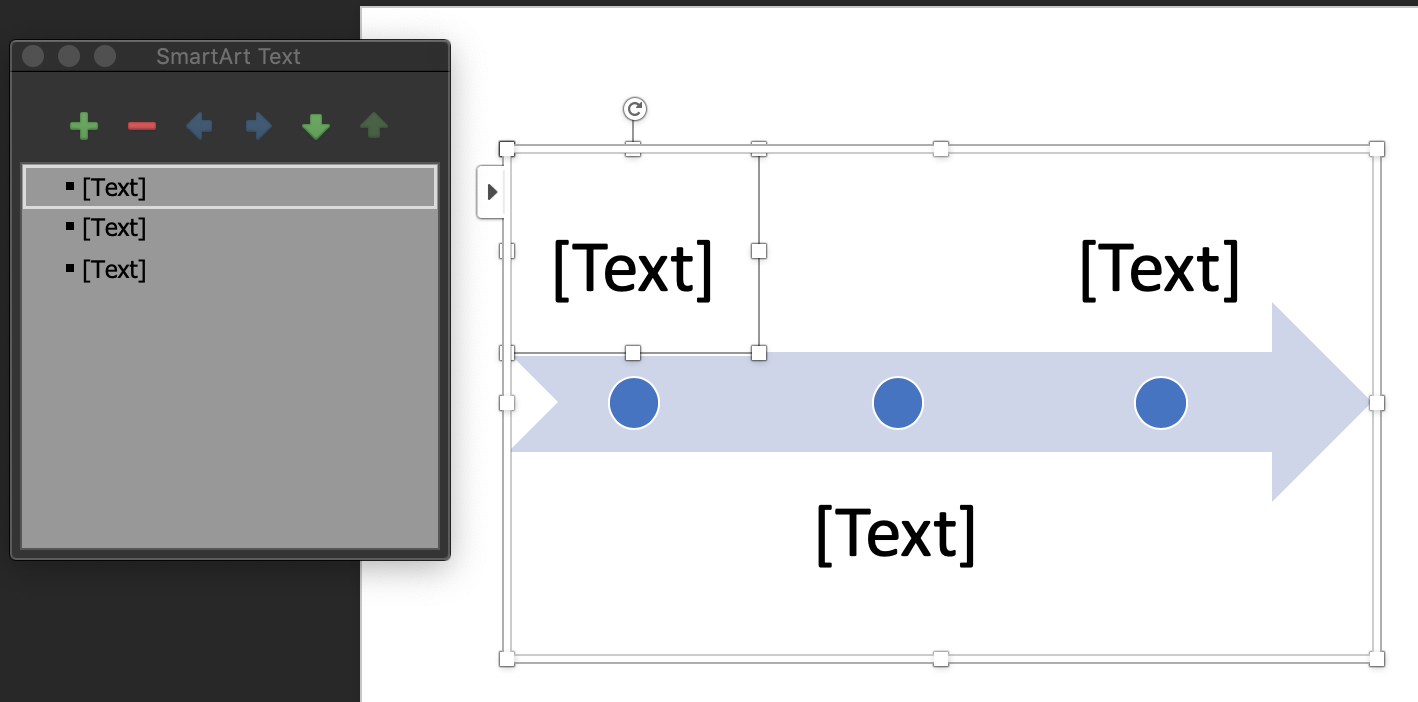
5. From this point, you can use the SmartArt Tools Design tab at the top of the editor to further customize your timeline. Click anywhere on your timeline to access this tab. You'll then be able to:
- Add more dates to your timeline.
- Move dates on your timeline.
- Switch to a different timeline layout or color combination.
Change the color, gradient, or texture of individual elements of your timeline by right-clicking the object you want to edit. You can also reposition your timeline arrow or change or resize your milestone markers using the options found in the SmartArt Tools Format tab.
Keep in mind that your timeline may turn out differently depending on which version of Word you’re using. Certain features and capabilities may not be available across all versions.
Creating timelines in Word vs Lucidchart
Now that you’re familiar with how to create a timeline in Word and in Lucidchart, you’ll need to decide which platform is best equipped to quickly and easily create, edit, and share your timeline chart. Here’s our breakdown:
Customization
While Word has a few SmartArt graphics to choose from, Lucidchart’s template gallery houses a more extensive selection of timeline templates designed for further customization. Additionally, Lucidchart’s platform is built for creating a wide variety of diagrams and visuals, while Word is designed to create mainly text-based documents.
Sharing
Word timelines can be sent as part of their original file. However, if you want to use your timeline in another document, you’ll need to export it as an image, which limits future editing and formatting. Lucidchart allows you to share your timeline via email, published link, and Microsoft and Google integrations, all while allowing you to maintain viewing and editing privileges.
Collaboration
Collaborating with others on your timeline can prove difficult when using Word, as it is designed for use by one user at a time. Though you can use track changes and other features, working with others on your timeline can be a lengthy process. On the other hand, collaboration is built into Lucidchart’s platform, with commenting, online chatting, and real-time updates allowing for instant collaboration and updates.
And there you have it. Whether you’re getting buy-in on project deadlines or putting the final touches on a school project, you can leverage our intuitive visual workspace to create, edit, and share your work whenever and however you want.
Our Microsoft add-in gives your even more flexibility, allowing you to import your timeline directly from your Lucidchart canvas into your Word documents. With Lucidchart and Microsoft, you can create informative, professional-quality timelines that can be shared and used in all of your applications, documents, and presentations.